Login
Our 3D CAD supplier models have been moved to 3Dfindit.com, the new visual search engine for 3D CAD, CAE & BIM models.
You can log in there with your existing account of this site.
The content remains free of charge.

Top Links
Categories


Search FAQs
Most Recent FAQs
-
0 comments, 0 likes, 3,533 views100% helpful.
-
0 comments, 0 likes, 4,753 views100% helpful.
-
0 comments, 0 likes, 10,631 views
Most Viewed FAQs
-
0 comments, 0 likes, 129,301 views0% helpful.
-
0 comments, 0 likes, 24,695 views
-
0 comments, 0 likes, 21,386 views18% helpful.
FAQs
-
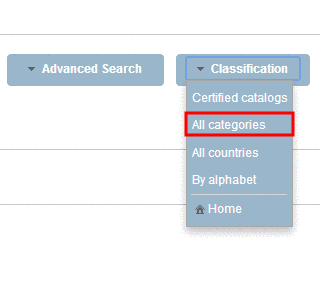
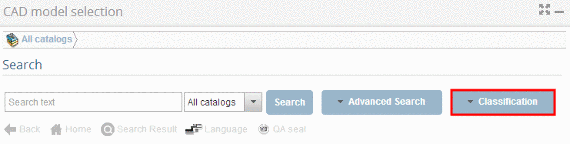
Click on classification.Afterwards click in the drop down menu all categories.. Click on a category of your choice. ...
-
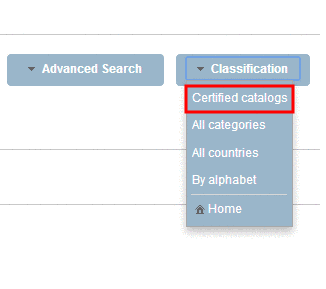
Click on classification.Afterwards click in the drop down menu all categories..
-
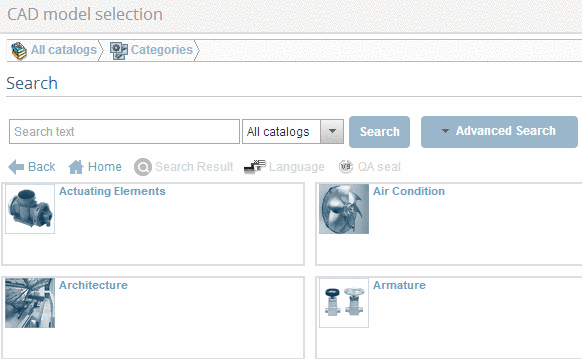
Click on a category of your choice.
-> Only components are shown, which contain components of the chosen category.
Permalink | 0 comments, 0 likes, 663 viewsWas this answer helpful? -
-
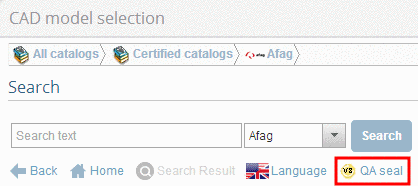
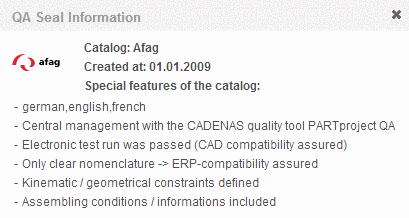
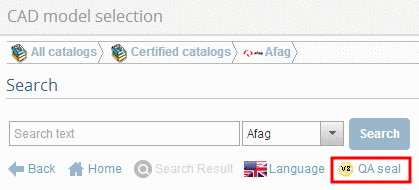
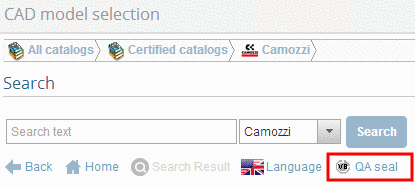
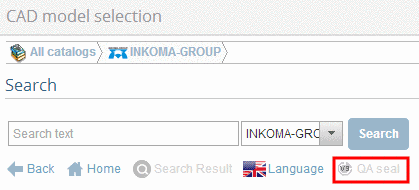
Choose the desired catalog. Then click on QA seal.. -> A dialog opens with information about the QA seal.
-
A corresponding icon is shown at catalogs with quality seal. If the catalog hasn't got a quality seal the link is inactive (greyed out). ...
-
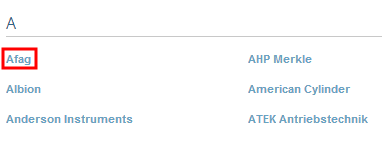
Click on classification.. -> a drop down menu opens. Click in the drop down menu on certified catalogs. ->...
-
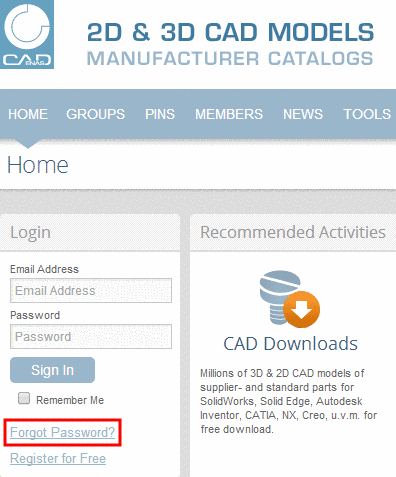
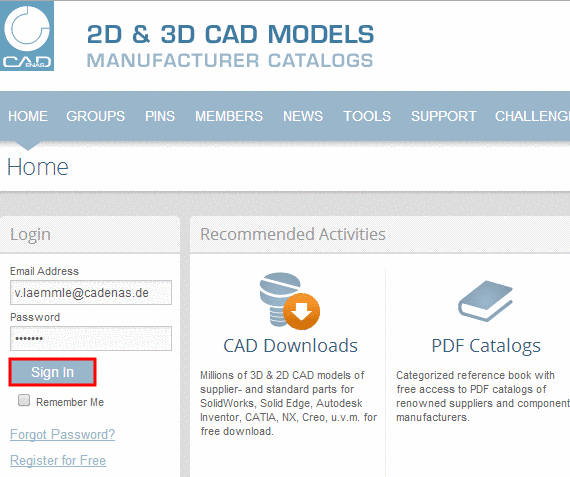
Click on the button "Forgot Password" at the left hand side. To reset your password please enter the e-mail addres...
-
-
Click on the button "Forgot Password" at the left hand side.
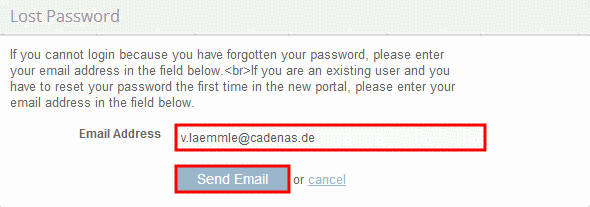
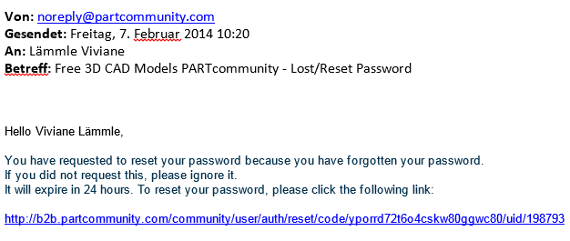
To reset your password please enter the e-mail address you used during your registration into the input field and click on "Send Email".
-> You will receive the confirmation „Forgot Password“.
-
Open the e-mail sent to you and click on the link.
-> A dialog opens with a form for inputting your new password.
-
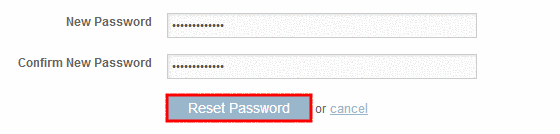
Enter your new password into the input field and click on "Reset Password" to reset your password.
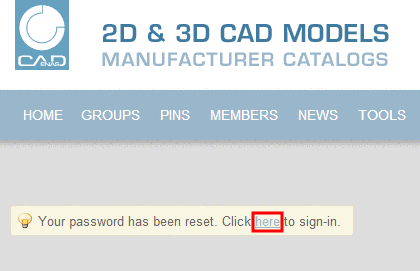
-> You will receive the confirmation „Your password has been reset. Click here to sign-in.“
-
In order to get to login click on "here".
-
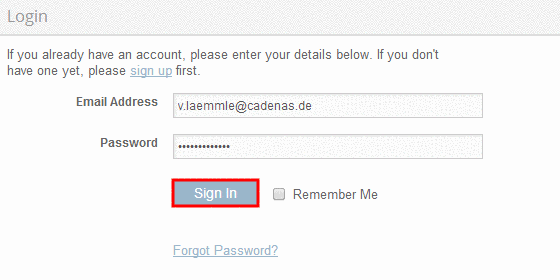
To log in, enter your email address and your new password into the input field and click on the button "Login".
-
Please check your spam folder if you have not received any e-mail to reset the password.
-
Permalink | 0 comments, 0 likes, 16,137 viewsWas this answer helpful? -
-
You can log in after successful registration and account activation. Enter your access data in the input field at the left hand ...
-
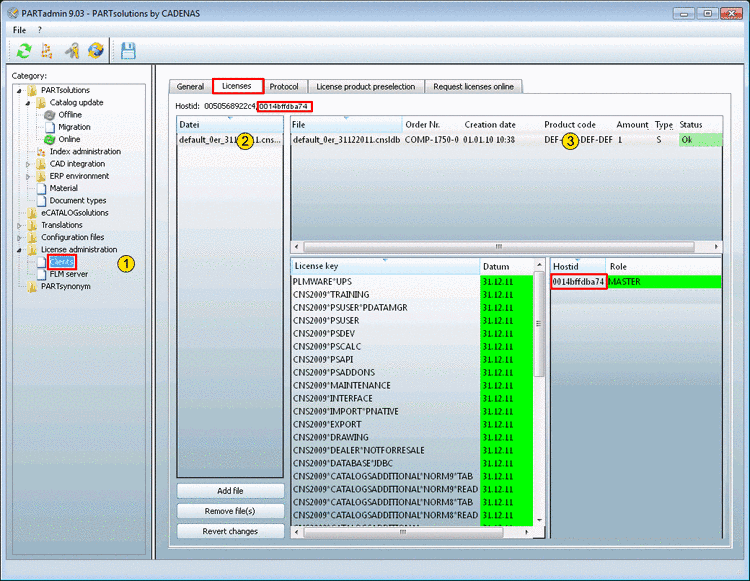
In the Category menu mark the item License administration -> Clients. Select the Licenses inde...
-
In the Category menu mark the item License administration -> Clients.
Select the Licenses index page.
Select a license product top right.
-> Now detailed license information is displayed under License key and Host ID/Role.
-
Check, whether all received licenses are listed.
If the license file „*.cnsldb“ is not listed or you have received a new license file, which you want to add to the list, then do the following:
--> Now the file is listed in the license administration.
-
Mark the License file in the dialog area top right.
--> The individual License keys with Expiration date and Status are listed.
-
Check, whether the Host ID of the license (downright) is according to one of the Host ID displayed above (see Fig. „Licenses“).
(Exception: Some products (e.g. free catalogs) have so-called zero-licenses '0000 0000 0000'). Here the hostid doesn't have to be according)
-
In order for the license to be effective for the respective module (PARTdataManager, etc.), the Status has to be OK (green).
-
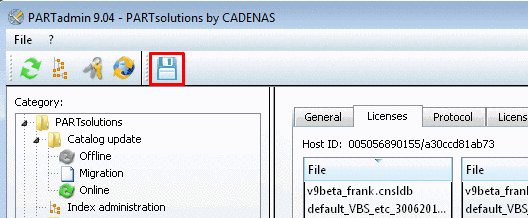
In order to finish the procedure, click on the Save changes button! (If not already happened during the license installation).
-
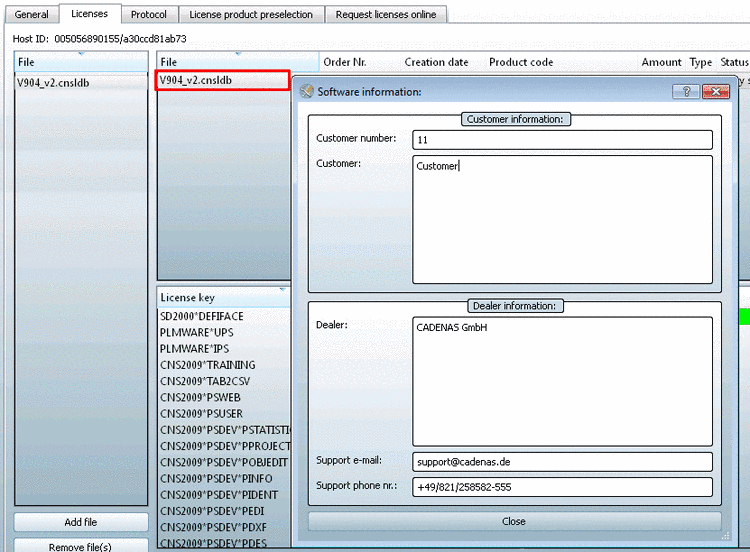
Call up software and support information
After double-click on a license file / license product (*.cnsldb) the Software information dialog box appears.
In the Customer information dialog area you can find your Customer number. Stating the number helps the support better help you.
Under Dealer information you can find the relevant dealer with Support e-mail and support phone number.
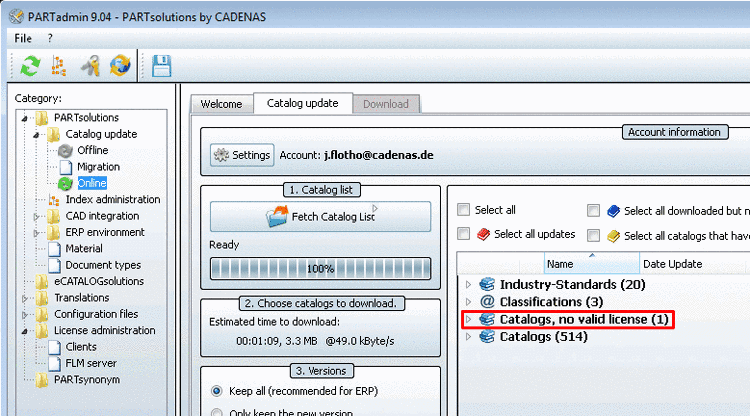
As of V9.03 catalogs without valid license are displayed in their own category under PARTadmin -> PARTsolutions -> Catalog update-> Online -> Catalogs, no valid license.
-
Get further help regarding licensing by clicking F1 within PARTsolutions

Permalink | 0 comments, 0 likes, 13,681 views0% users marked this FAQ as helpful.|1 voteWas this answer helpful? -
-
On this free portal (PARTcommunity) there are no standards available but all other catalogs.To receive standard parts you may switch to o...
-
Client requirements Browser: IE >= v8 Firefox >= v3 Opera >= v10 Javascript and Cookies...
-
ActiveX viewer: ActiveX must be activated in the security settings.
-
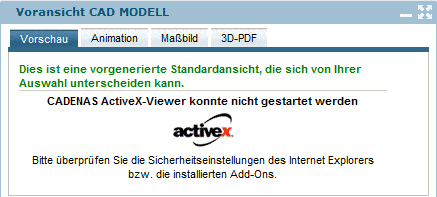
CADENAS PARTwebViewer must be installed.
Should this not be installed, the following message will show up in the CAD model preview dialog area.
-
Note
Please note the installation query in the browser window. You must click on it in order to allow for the installation of the CADENAS ActiveX-Viewer. -
Flash v10
In order to create a sketch under Search for CAD models -> Sketch 2D, you need the Flash-Player.
Permalink | 0 comments, 0 likes, 12,583 views0% users marked this FAQ as helpful.|1 voteWas this answer helpful? -
Please check the following points: - does the part look like the 3D preview of the portal?- is the part also wrong in other export forma...
Please check the following points:
- does the part look like the 3D preview of the portal?
- is the part also wrong in other export formats(e.g. STEP)?If your problem could not be solved please contact the support team
via Ask Question in the FAQ area.
Permalink | 0 comments, 0 likes, 12,385 views100% users marked this FAQ as helpful.|3 votesWas this answer helpful? -
Please check the following points: - are you logged in on the partal with you account?- can the part be generated in other export format...
Please check the following points:
- are you logged in on the partal with you account?
- can the part be generated in other export formats?If your problem could not be solved please contact the support team
via Ask Question in the FAQ area.
Permalink | 0 comments, 1 like, 13,861 views33% users marked this FAQ as helpful.|9 votesWas this answer helpful? -
-> The activation link will be sent to the specified address automatically. Open the e-mail sent to you and activate your acc...
-
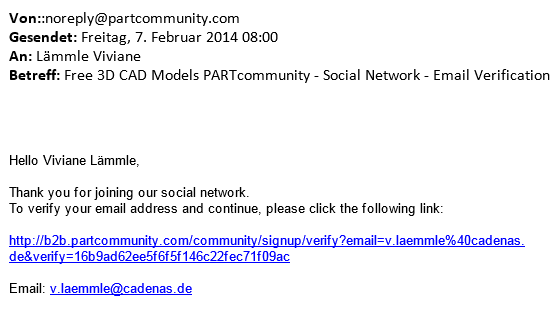
-> The activation link will be sent to the specified address automatically.
-
Open the e-mail sent to you and activate your account by clicking on the activation link.
-
Please check your spam folder if you have not received any activation link since the registration yet.
-> If you can't find the e-mail anymore you can request the activation link again.
-
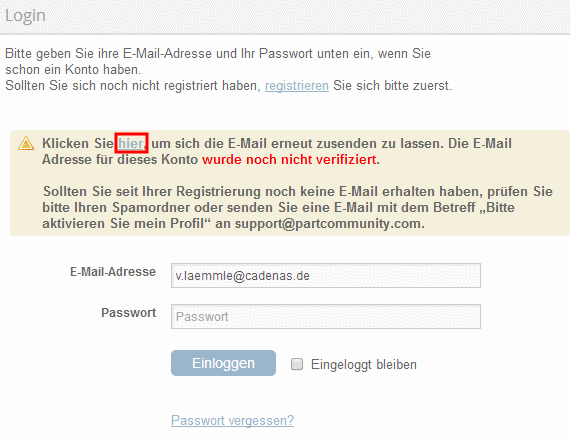
Enter your access data and click on "Login".
-
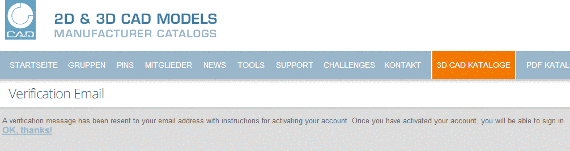
In order to request the activation link again click on "here".
-> You will receive the confirmation „Verification Email“.
-
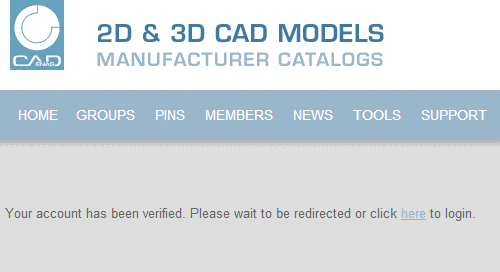
Open the e-mail sent to you and activate your account by clicking on the activation link.
-> Afterwards you will receive the confirmation "Your account has been verified. Please wait to be redirected or click here to login“.
-> For further questions please contact the support team via "Ask Question" in the FAQ area.
-
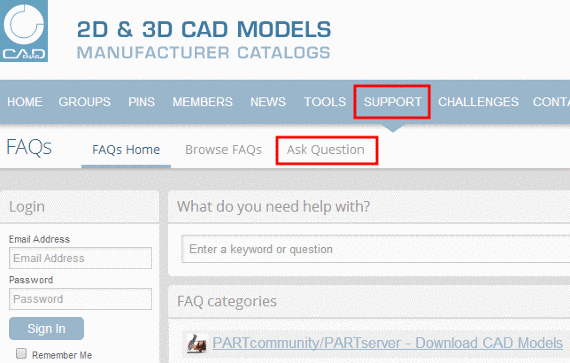
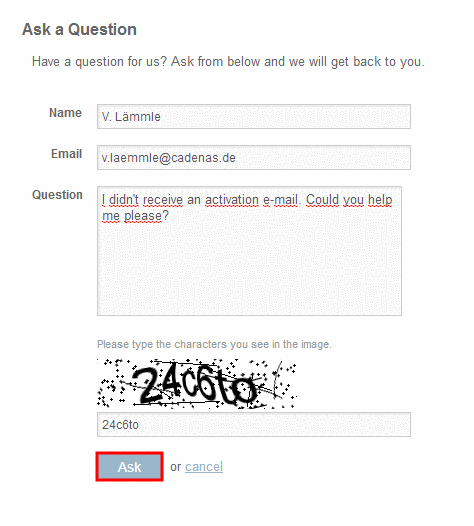
Click on "Support" and afterwards on "Ask Question".
-
To send the request, please fill out all input fields and click on "Ask".
-
Permalink | 0 comments, 1 like, 15,391 views60% users marked this FAQ as helpful.|5 votesWas this answer helpful? -