Manual
Login
Our 3D CAD supplier models have been moved to 3Dfindit.com, the new visual search engine for 3D CAD, CAE & BIM models.
You can log in there with your existing account of this site.
The content remains free of charge.

Top Links
Manual
 |
![[Note]](/community/externals/manuals/%24%7Bb2b:MANUALPATH/images/note.png) |
Note |
|---|---|
|
When performing an ERP mapping it's always about to create a mapping between the local work status (potential LIVE status) and an already published status. | |
| ||||

In the following the standard mapping workflow is described.
-
Upload changed files in directories / projects to the server: In the course of uploading files the necessity of mapping (or updating the table version with the mapping) is checked.
-> The dialog box Send changes to the server is opened where all changed files are listed.
-
Enter a comment and confirm with .
-> The dialog Check ERP-Mapping is opened.
-
Either select the option Search for a published catalog version or Load CIP file.
-
Search for a published catalog version (Standard variant)
Catalog modeling is based on SVN so that the standard variant is the one to prefer.
However, only catalog status as of November 2014 are valid, older ones are hidden. In that case use the variant Load CIP file.
-> All published catalog versions are listed.
Select the most current version.
-
This option is especially used for Standard catalogs. Use case: Standards is published, however, the mapping has been created for DIN. So under Other catalog select Standards and under Directory select DIN.
-
If the supplier changed the catalog name for some reason (e.g. at first catalog modeled by standard, then Quick&Simple catalog)
In this case for the first mapping another catalog name has been used.
-
-
If the last catalog status is before November 2014, the mapping can be created with the help of a CIP file. At this variant the mapping is not verified during publishing.
Use order numbers to create mappings: See below.
-
-
Now you have different options:
Execute ERP-Mapping for projects which are modified and selected for check-in -> Click on .
-
Proceed without executing ERP-Mapping ->
(There already is a mapping or it will be performed later [see Section 6.10.2.1.3, “ Add ERP-Mapping... and Edit ERP-Mapping... ”].)
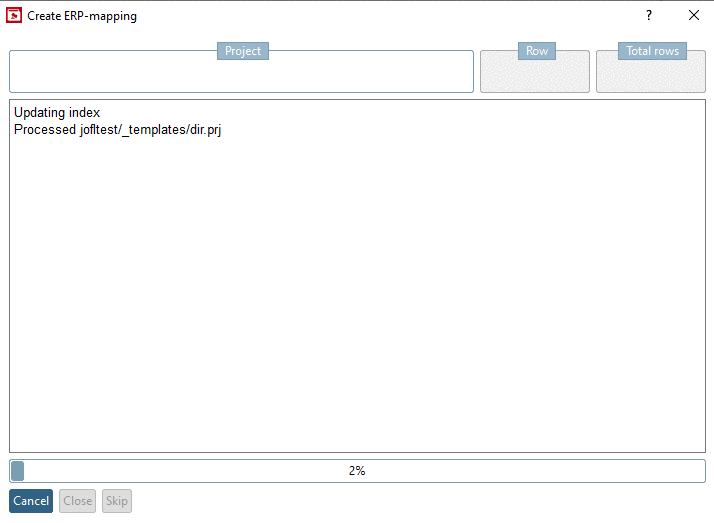
When clicking the dialog box Create ERP-mapping is opened and then without any further interaction immediately afterwards the dialog box Edit ERP mapping for the source catalog from ....
What happens in the background after clicking on ?
The software attempts to map the source projects (of selected catalog version) to the target projects (of the local working copy). If a release mapping already exists and files have been changed since the last time, the mapping is created. When executing the command anew the existing release mapping is updated. If the mapping has already been verified (in the dialog Edit ERP mapping for source catalog from ...) and the table version is unchanged, the mapping is kept. Not verified mappings will be overwritten. Mappings with new changes are added.
-
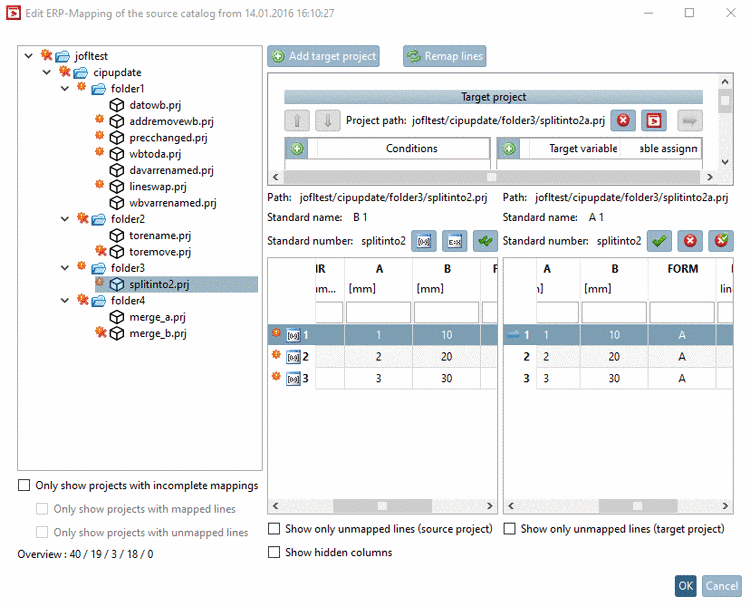
Edit (verify) all assignment which are not unique.
Something in the project or in the table has changed which not necessarily means that there was a change relevant for the ERP mapping. For changes not relevant for the ERP mapping no icon is displayed.
-
-
A target project/row has been automatically found and the changes are quite minimal, so there is no need for the user to confirm the mapping. Possible reasons are:
-
Value range: Mappings referring to a value range are always displayed (with or without
 icon).
-
At least for one row an exact accordance could be found. As the software cannot test all combinations of value range values (endless), it may be that values have still changed. That's why the value range has to be checked manually, nevertheless.
-
If a relevant change of value range is found, an icon
is displayed.
-
-
-
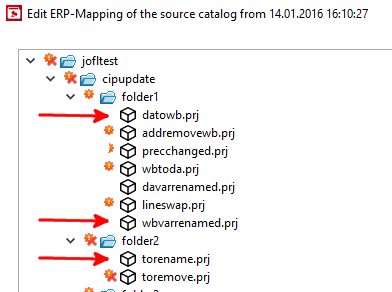
Exclamation mark
: A possible target has been found, but
the mapping cannot be confirmed automatically. That means, due
to changes the modeler either has to verify the proposed mapping
or to map another target. For example, here it could be that the
NB differs due to a change of a variable value.X (and exclamation mark)
 : No target has been found. Here, the user
has to interact as well and either confirm that the respective
line does not exist anymore (meaning to verify) or assign
something different.
: No target has been found. Here, the user
has to interact as well and either confirm that the respective
line does not exist anymore (meaning to verify) or assign
something different.X and checkmark)
 : There is no target. Mapping has been
verified by user (display only on line level). The project shows
a checkmark.
: There is no target. Mapping has been
verified by user (display only on line level). The project shows
a checkmark.
Icons signalize that there is at least one row where it applies to.
Also have a look on the respective tooltip. At mouseover a tooltip explaining the icon is displayed.
On row level the tooltips are still more detailed. For example, there they show that the NB has been changed (old and new are displayed). So it becomes clear why a specific icon is displayed.
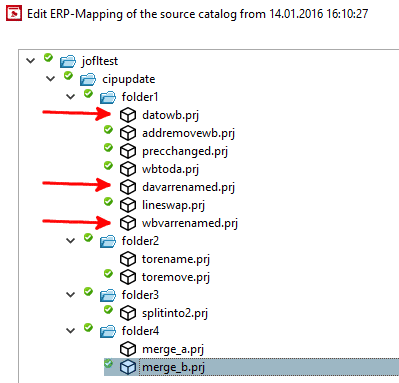
Once all assignments are confirmed, the catalog, directories, projects and project rows will show a green checkmark. (Projects without icon will be displayed without further on.)
-
Once everything is assigned you can publish the catalog.[66] All mapping information is included[67] and will be processed at the catalog installation.


![[Caution]](/community/externals/manuals/%24%7Bb2b:MANUALPATH/images/caution.png)


[66] Detailed information on publishing can be found under Section 6.10, “ Publish catalog ”.
[67] in the file "mapping.json"
