Manual
Login
Our 3D CAD supplier models have been moved to 3Dfindit.com, the new visual search engine for 3D CAD, CAE & BIM models.
You can log in there with your existing account of this site.
The content remains free of charge.

Top Links
Manual
 |
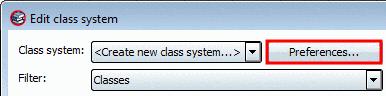
After selection of the item <Create new class system...> the dialog box Create class system opens. However, you can call it anytime via click on .
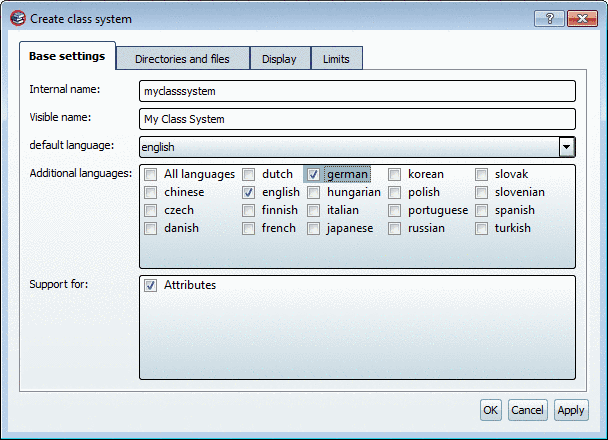
At first the base settings of the class system have to be defined:
The following tabbed pages will guide you through all setting options:
-
Internal name: By this name the class system is clearly identified.
-
![[Important]](/community/externals/manuals/%24%7Bb2b:MANUALPATH/images/important.png)
Important All entries are made in the defined Default language.[a]
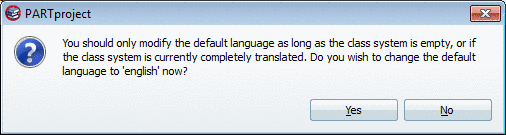
Should it become necessary to make further entries in another language, the default language can be changed. However, this should only be performed, if the class system is currently completely translated. At a change a respective message is displayed.
[a] The CADENAS_LANGUAGE (meaning the language displayed in the user interface) is not relevant when editing class systems. The complete class tree is displayed in the Default language.
Additional languages: At the desired translation languages activate the checkbox.
-
-
Enter the big preview image for PARTdataManager (recommended dimension: 80x80 pixel):
-
Enter the little preview image for PARTdataManager (recommended dimension: 16x16 pixel):
-
Define the default path to the classification preview images by clicking on the search button :
Default path is: "$CADENAS_DATA/ datasetup/ classsystem/ my_class/ preview/ my_class".
If you don't want to use preview images, then you can optionally create the classification preview images from the directory or project images.
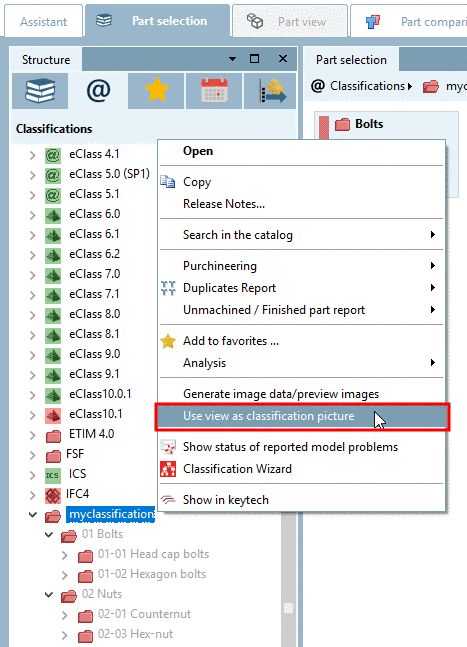
If you are in the developer mode (DEV), then, under PARTdataManager -> tabbed page Classes -> context menu of a directory or single class, you can find the command Use view as classification picture.
Compare Section 5.8.2.1.14.3, “ Generate image data/preview images with batch run ”.
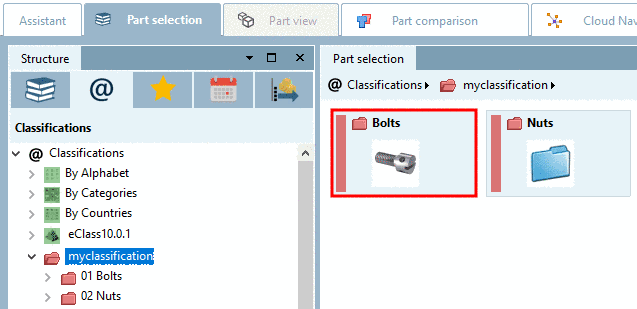
Now the respective classification preview images are displayed.
-


-
-
-
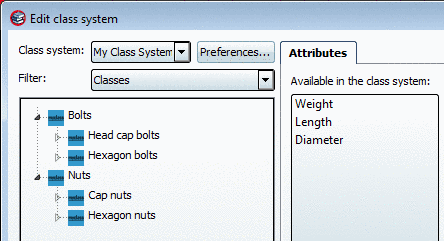
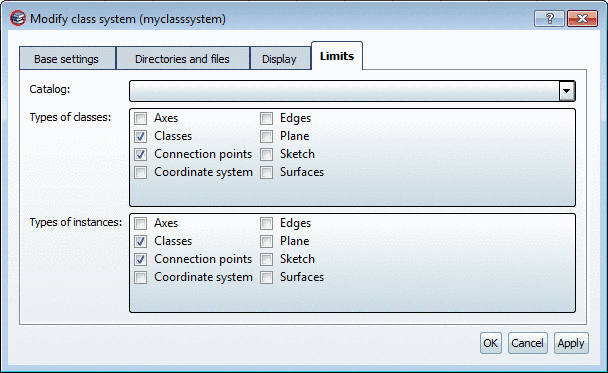
Types of classes: Classes / Connection points / Classes and connection points
The selection under Types of classes determines, which options are displayed in the dialog box Classification, in the list box under Filter.
-
Types of instances: Classes / Connection points / Classes and connection points
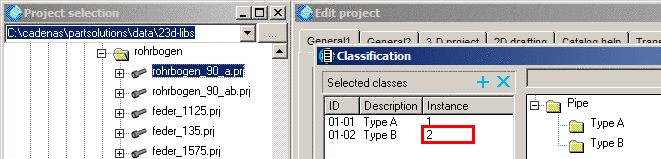
The selection under Types of instances determines, whether in the dialog box Classification, the column Instance can be edited or is grayed out.
Example: In the plant manufacturing the use of instances would possibly make sense for pipe connections.
-

After you have performed all settings in the dialog box, confirm with OK.
![[Note]](/community/externals/manuals/%24%7Bb2b:MANUALPATH/images/note.png) |
Note |
|---|---|
|
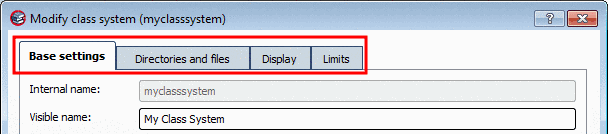
Via you can reach this dialog box anytime.
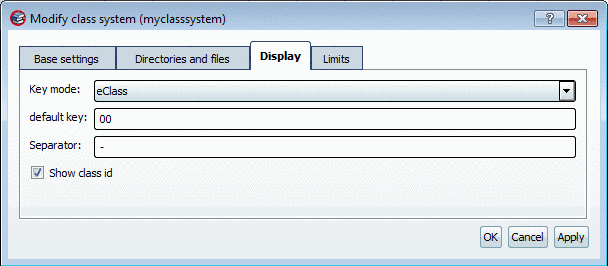
Now the name of this dialog box is Modify class system <name>. | |