Manual
Login
Our 3D CAD supplier models have been moved to 3Dfindit.com, the new visual search engine for 3D CAD, CAE & BIM models.
You can log in there with your existing account of this site.
The content remains free of charge.

Top Links
Manual
 |
-
Provide the required preview images in the directory structure.
-
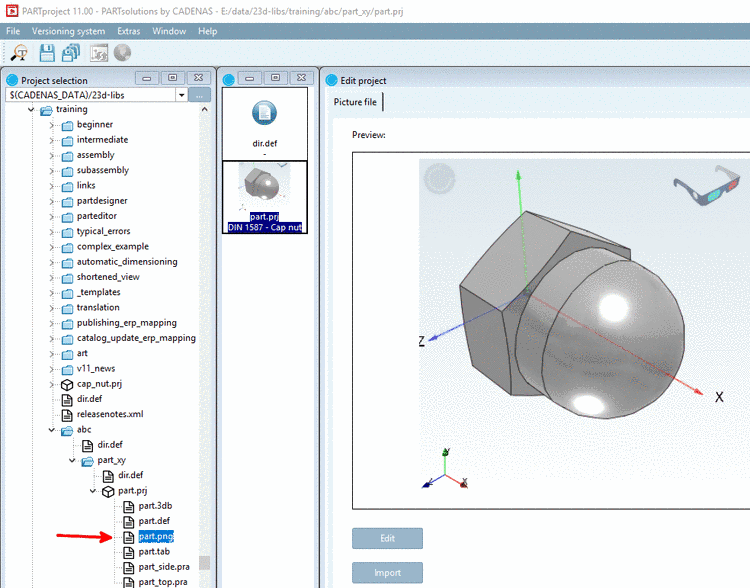
Select the desired project and under tabbed page General -> Preview, in the list field, set the desired preview image.
-> Only now the preview image is displayed in the directory structure of PARTproject.
-
-> In the dialog area Edit project, the preview image of the part is displayed under Preview.
-
Optionally, if you want to replace the preview image by another:
Click the button and choose the new preview image in the Explorer.
-> In PARTproject, now the preview image of the cap nut is replaced and the preview is shown now.
-> Later, when calling the project, the respective preview image is displayed in the Part view of PARTdataManager:[18]
![[Note]](/community/externals/manuals/%24%7Bb2b:MANUALPATH/images/note.png)
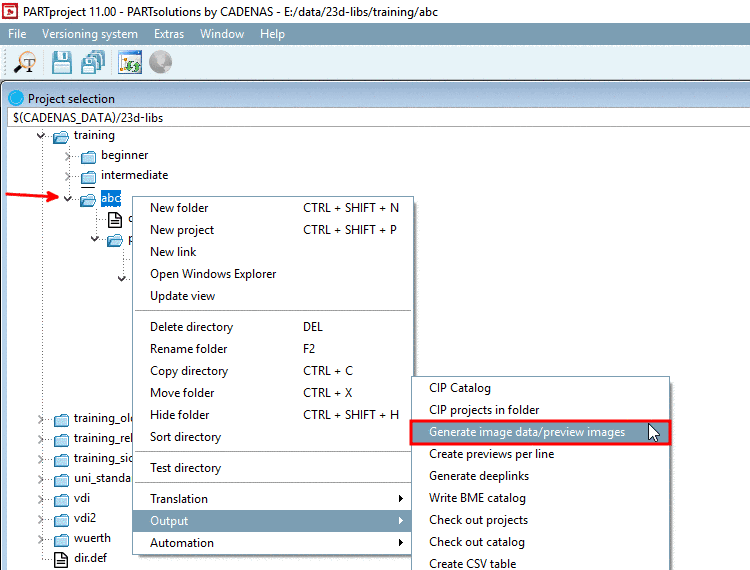
Note Via context menu command Generate image data/preview images you can create preview images in an automated process. See Section 5.8.2.1.14.3, “ Generate image data/preview images with batch run ”.