Manual
Login
Our 3D CAD supplier models have been moved to 3Dfindit.com, the new visual search engine for 3D CAD, CAE & BIM models.
You can log in there with your existing account of this site.
The content remains free of charge.

Top Links
Manual
 |

You may post-install or update CAD integrations at any time.
-
An update may, for example, be carried out for the existing version of the CAD system or also after an update of an CAD system.
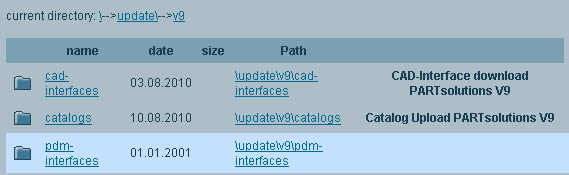
CAD interface updates are occasionally made available as executable programs (*.exe) under "
www.cadenas.de -> Service -> Download/Update -> update -> v9 -> cad-interfaces".For downloading, do the following:
In order to start the update process, double-click on the *.exe file.
-> The installation routine is opened. Click on up to the dialog window CAD integrations selection.
The selection must be set to Update.
For a single workstation installation the update is now complete.
Since for a Client-Server installation the dlls of the CAD integration are also located on the server drive, an action (e.g. dll new registration) only necessary in rare cases on the Client. At the next CAD new start the updated dll is usually directly loaded.

![[Important]](/community/externals/manuals/%24%7Bb2b:MANUALPATH/images/important.png)


![[Note]](/community/externals/manuals/%24%7Bb2b:MANUALPATH/images/note.png) |
Note |
|---|---|
Detailed information concerning CAD integration in general can be found under Chapter 2, PARTsolutions - CAD Integration - Administration in PARTsolutions / PARTcommunity4Enterprise - Administration Manual. | |
