Manual
Login
Our 3D CAD supplier models have been moved to 3Dfindit.com, the new visual search engine for 3D CAD, CAE & BIM models.
You can log in there with your existing account of this site.
The content remains free of charge.

Top Links
Manual
 |
-
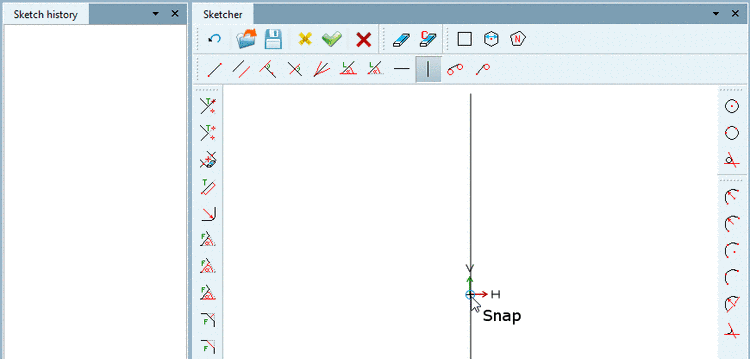
Click on the button Vertical line
 .
.--> A vertical line is attached to the cursor.
-
Move the cursor along the line to the x/y zero point until the snap (a tracking point for setting the intersection points) appears.
-
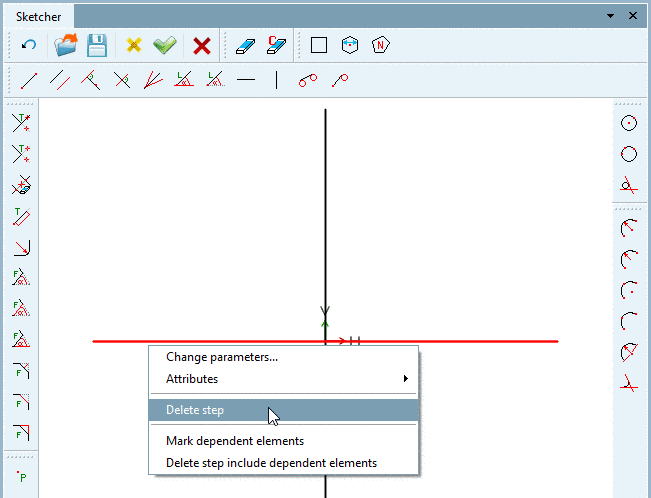
Fix the line with a simple mouse-click.
--> The dialog box Change parameter is opened.
Since the line should run through the 0 point, leave the default value (0,0) and click .
-
By right-clicking again, the mouse loses its function (vertical insertion).
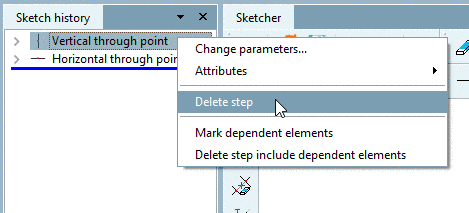
--> The event is displayed in the Sketch History with detailed parameters.


All these working steps are documented in the Sketch history, so that you can later retrace or repeat your steps.
![[Note]](/community/externals/manuals/%24%7Bb2b:MANUALPATH/images/note.png)