Manual
Login
Our 3D CAD supplier models have been moved to 3Dfindit.com, the new visual search engine for 3D CAD, CAE & BIM models.
You can log in there with your existing account of this site.
The content remains free of charge.

Top Links
Manual
 |
Via context menu command of the folder 'training', create a new directory part.
-
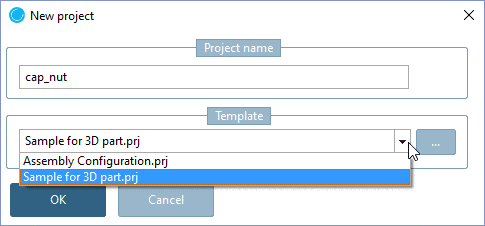
With right-click call the context menu of the folder part and click New project.
-
Enter the name of the new project and choose the template for 3D-capnut.prj (pull-down menu) as Template.
--> The new project cap_nut.prj is pasted in the PARTproject directory tree.
Because of the chosen Template, blank files for Geometry (cap_nut.3db) and Table (cap_nut.tab) are already available. Both files still have to be given some content.
-
First click on the name of the geometry file cap_nut.3db.
--> Dialog area Edit project: At this state there is no Preview of the geometry visible.
-
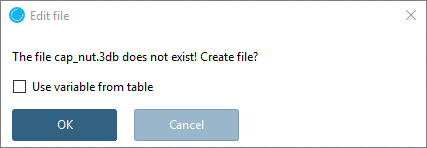
In order to open PARTdesigner, click on .
--> As the file has no content so far, you are asked in the dialog box Edit file whether the file should be created.
The field Use variable from table is not relevant, because there is no table so far, from which the variables could be taken.
-
--> PARTdesigner is being started.
3D view and table are still empty.