Manual
Login
Our 3D CAD supplier models have been moved to 3Dfindit.com, the new visual search engine for 3D CAD, CAE & BIM models.
You can log in there with your existing account of this site.
The content remains free of charge.

Top Links
Manual
 |
To enable CAPVIDIA with a PLMsynchro job, please set these additional settings:
-
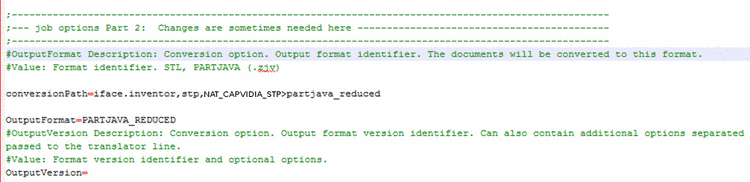
In
plmsynchro.cfg, under [JOB], enter a new key calledconversionPath. The value in this key holds the conversion process for CAPVIDIA module.conversionPath=iface.CAD,stp,NAT_CAPVIDIA_STP>OutputFormat
The following screenshot shows an example of conversionPath set for Inventor and PARTJAVA_REDUCED.
-
For very small parts, Capvidia will possibly calculate the Bounding Box not correctly, which results in wrong parts. In this case try the following setting under
plmsynchro.cfg-> block [JOB] or [CONVERSION] -> key ConversionPath.iface.cad,stp,nat_capvidia_stp>partjava(;custom=AdaptTolerance=4)
or
stp,nat_capvidia_stp>partjava(;custom=AdaptTolerance=4)
If using PLM Synchro with PARTdataCenter do the following:

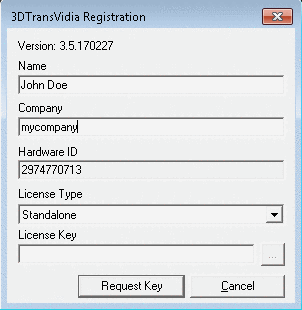
Operation of PLM Synchro with Capvidia requires the Capvidia license 3DTransVidia in addition.