Manual
Login
Our 3D CAD supplier models have been moved to 3Dfindit.com, the new visual search engine for 3D CAD, CAE & BIM models.
You can log in there with your existing account of this site.
The content remains free of charge.

Top Links
Manual
 |
With the help of the module Electrical classification import/export, you can export electrical classification data into the Excel format and then import again. This is always advantageous if a big amount of connection points shall be classified and if there are many similarities between single values. Attribute values of connection points can be copied and edited very comfortable in Excel.
Following description shows a complete procedure exemplarily.
-
Set all required connection points; they have to be available before.
For this, you can also use the Connection Point Wizard.
-
-
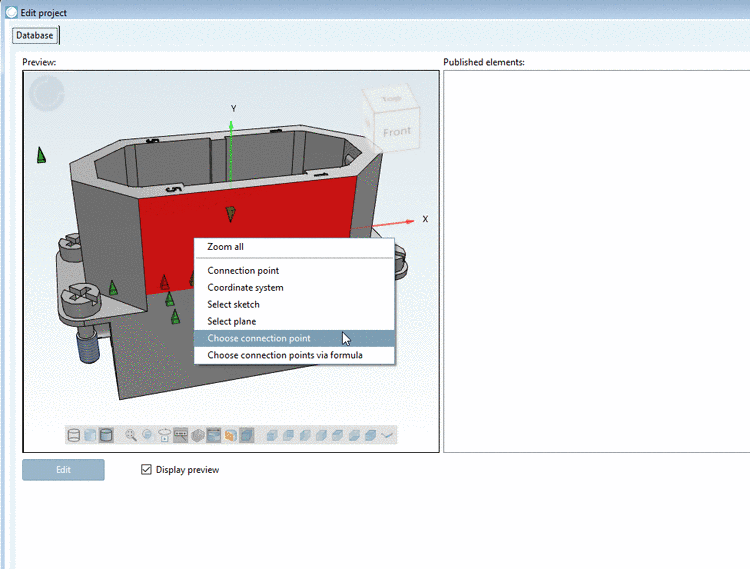
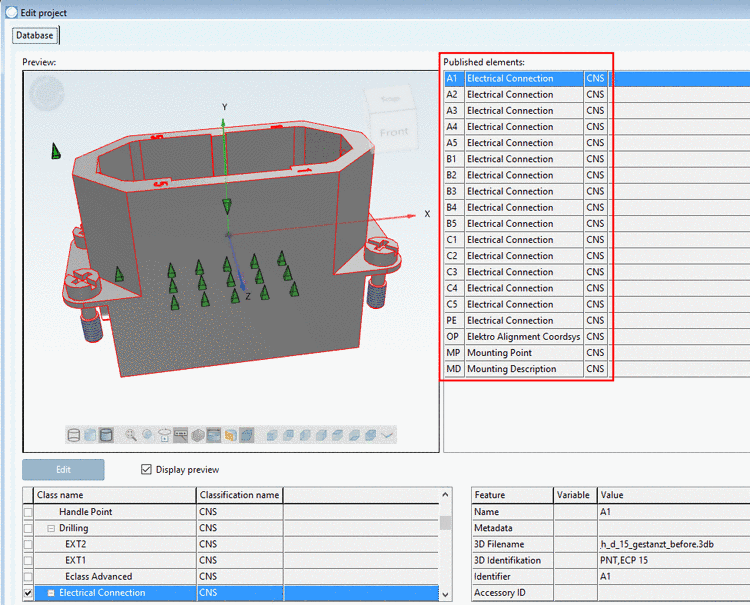
In PARTproject -> Edit project -> Preview, click on the context menu command Choose connection point.
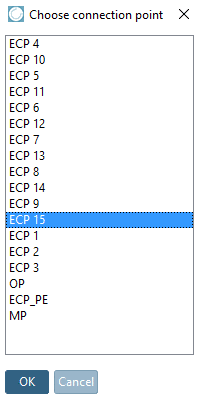
-> The same-named dialog box is opened.
-
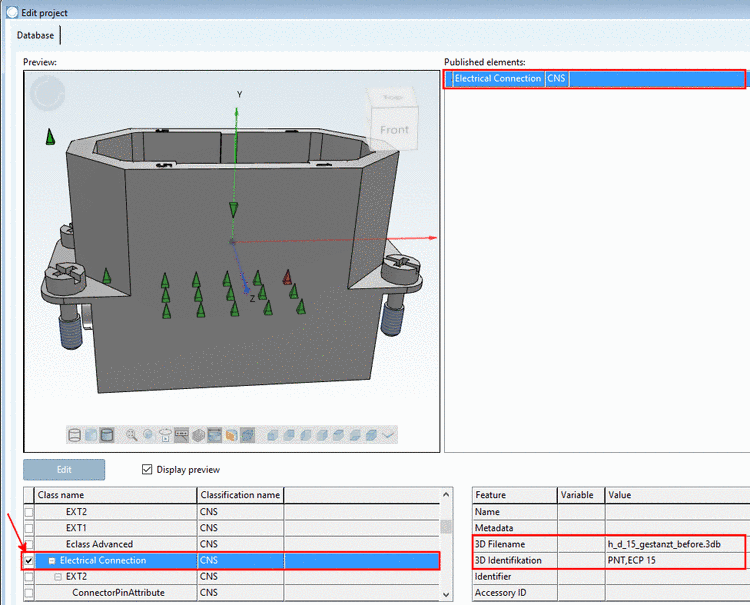
Scroll down to Class name "Electrical Connection" and activate the checkbox.
-> The point is inserted under Published elements.
-> The attributes 3D filename and 3D identification are already filled automatically.
-
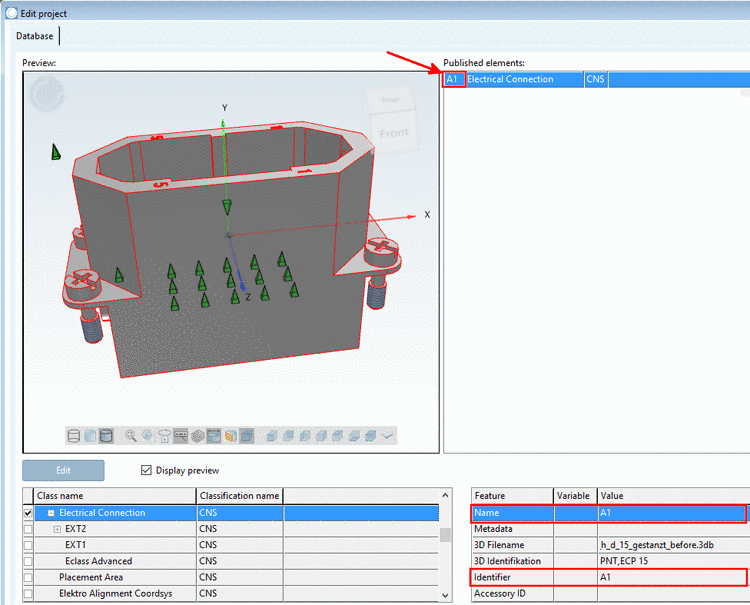
Set Name and Identifier manually (same value).
-> Now the name is displayed under Published elements in addition.
-
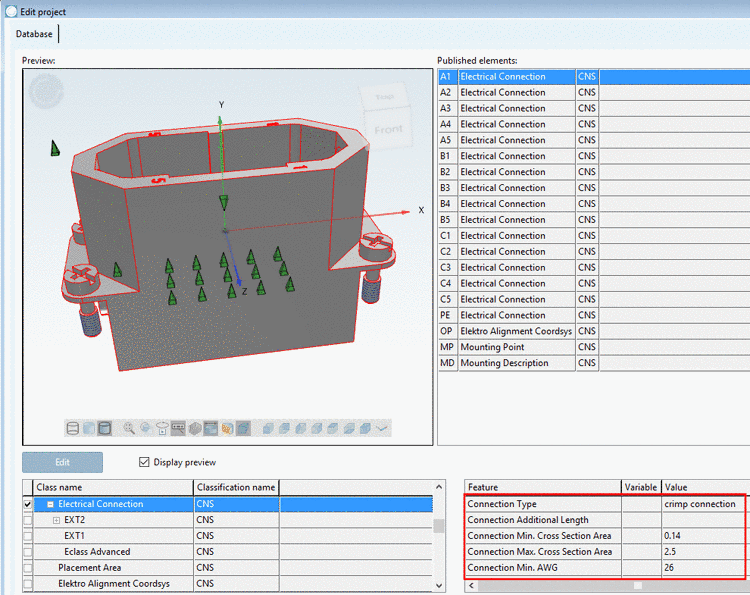
In the same way classify all other connection points. It does not have to be the class Electrical Connection necessarily. The connection point MP has the class Mounting Point, for example.
-> This leads to the following result.
-
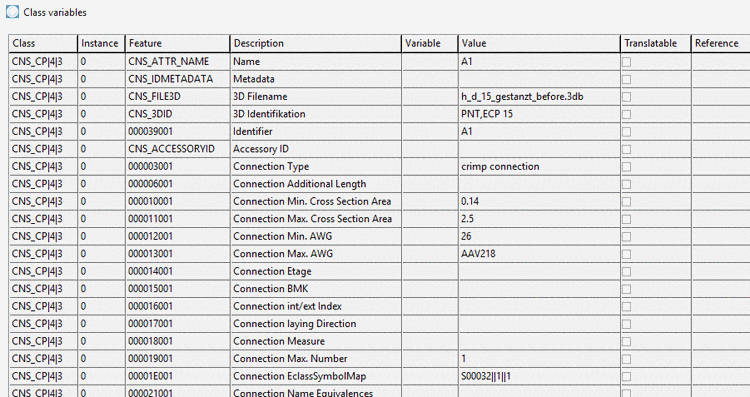
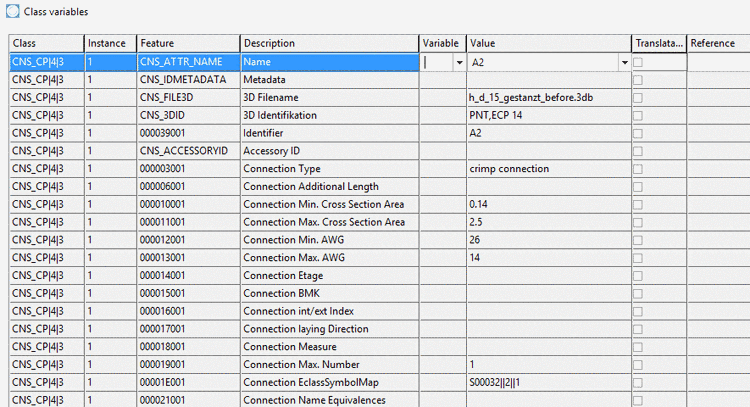
Now manually for ONE point of each class, set all required values (here in this example for A1 [Electrical Connection]). You can either do this under Published elements or in the dialog Class variables.
-
-
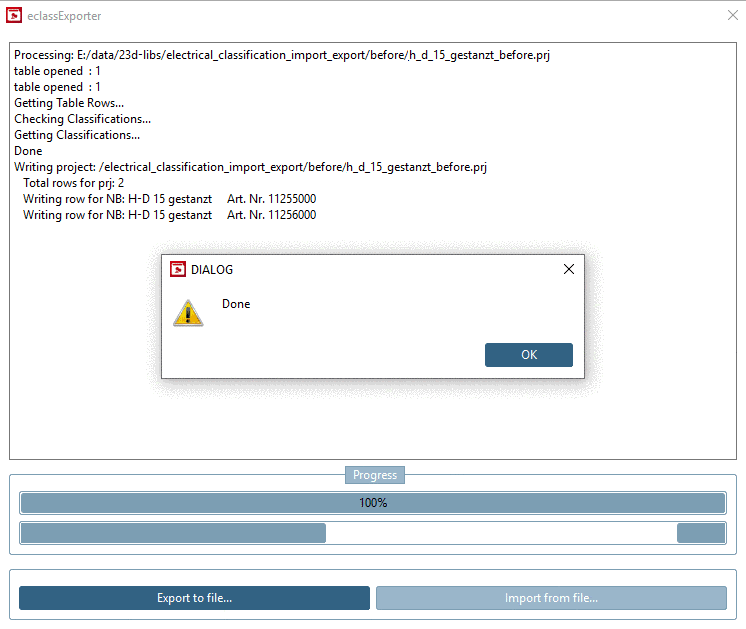
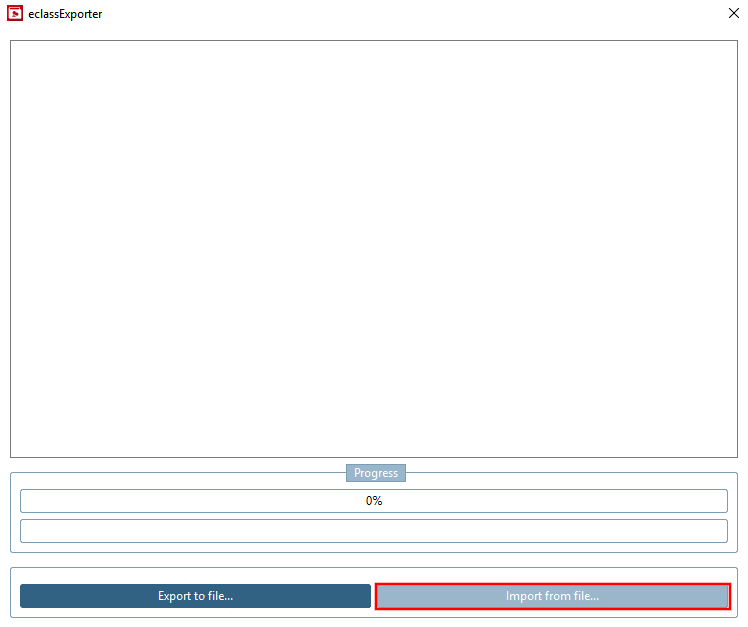
Call the module Electrical classification import/export.
-> The dialog box eclassExporter is opened (still empty).
-
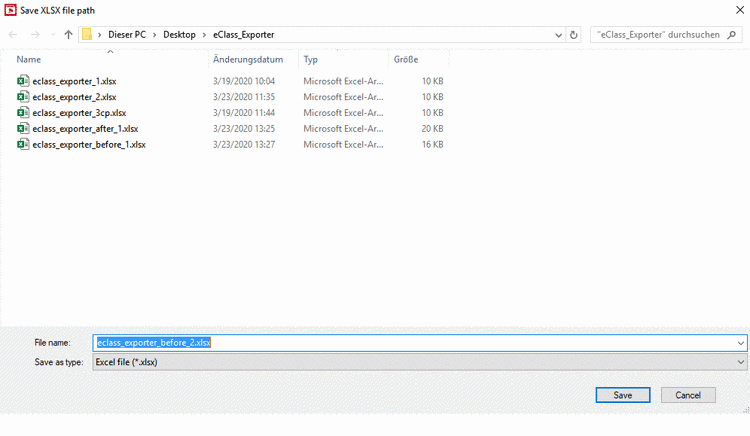
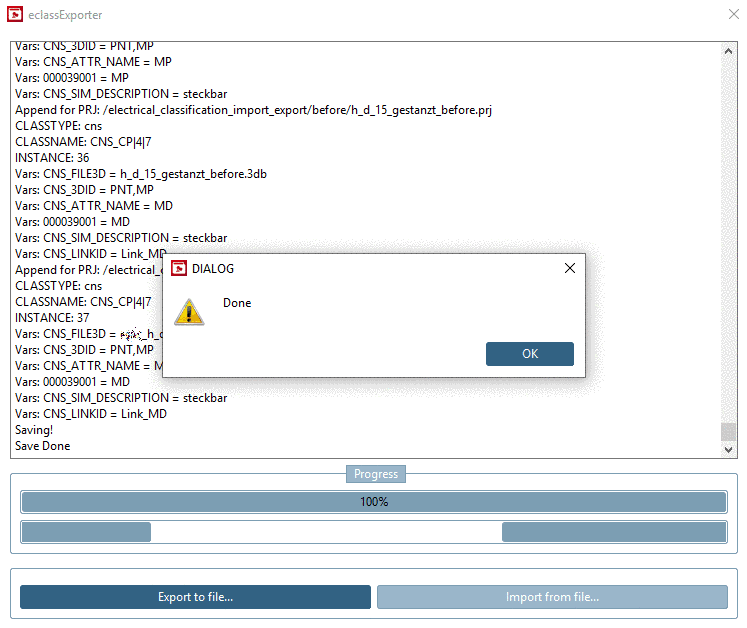
Determine an Excel file for saving the data.
-> When clicking on the export is started. Once it is finished the message "Done" is displayed.
-
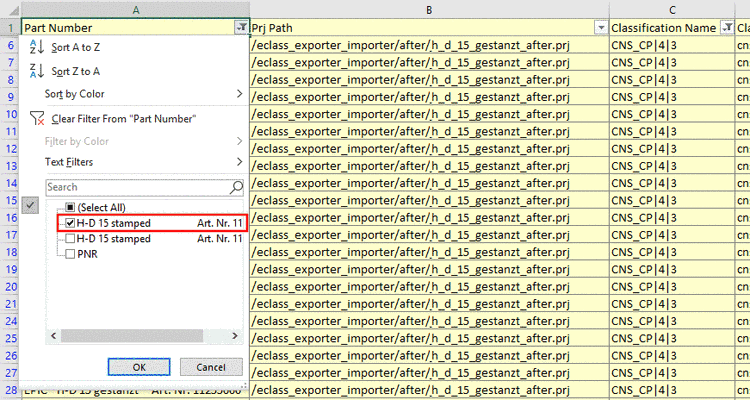
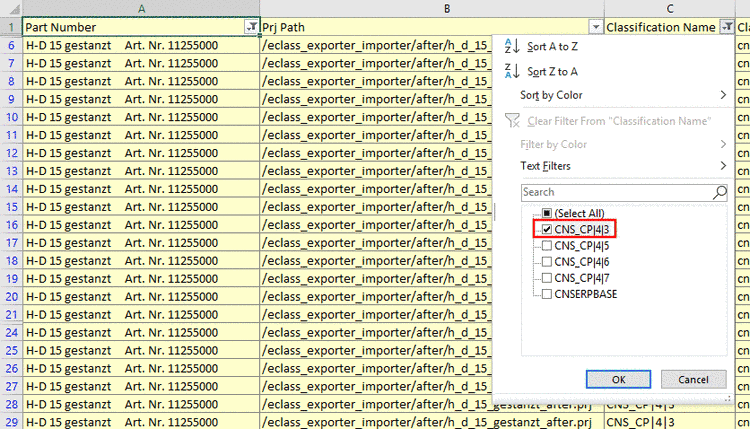
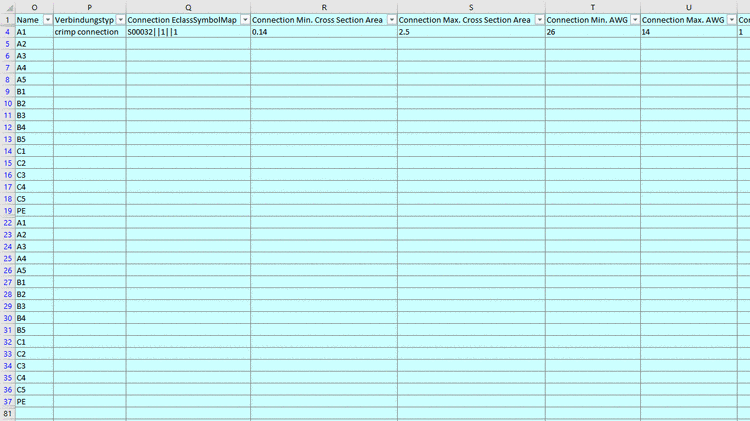
Open the Excel file determined before.
It is recommended to use the filter functionality, so that you can always focus on the desired data. Here in this example, filters for Part Number and Classification Name "CNS_CP|4|3" have been used.
-
Focus on the area to be edited.
The color coding helps for orientation.

General values regarding to export/import 
CNS: NON electrical classification values 
CNS: Electrical classification values 
Visible variable in project table -
For all connection points (rows), fill the attributes with values, what can easily and quickly be managed with the help of Excel functionality.
Here in this example, every row corresponds to one connection point (what not necessarily has to be the case, also multiple are possible).
-
Start the eclassExporter again and this time click on the button .
After finished import the message "Done" is shown.
-
Check if the data have been transferred to the other points.
![[Note]](/community/externals/manuals/%24%7Bb2b:MANUALPATH/images/note.png)
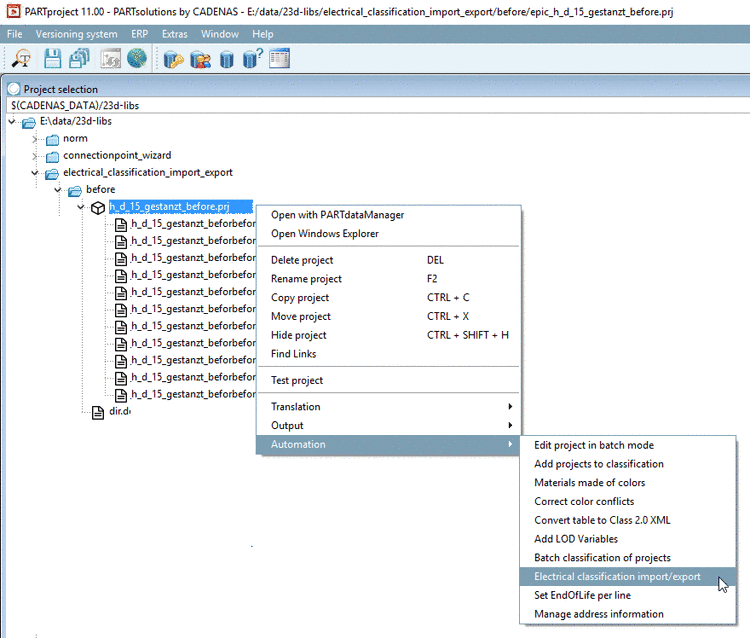


Precondition to be
able to use this function and for the context menu command to be displayed
is that the files eClass2.cfg and eClass2.vbb exist under $CADENAS/libs/all/plugins.
