Manual
Login
Our 3D CAD supplier models have been moved to 3Dfindit.com, the new visual search engine for 3D CAD, CAE & BIM models.
You can log in there with your existing account of this site.
The content remains free of charge.

Top Links
Manual
 |

The toolbar can be displayed or hidden. Hereto open the context menu within the page header and activate/deactivate the menu item toolBar.
In the following the single functions are described:
-
 New: The
dialog box New/Open
appears.
New: The
dialog box New/Open
appears.On this also see "Create template from A to Z", point 2.
-
 Save as catalog template: Under "_templates" a file
 <name>.templateand a file<name>.ptdefare saved.On this also see "Create template from A to Z", point 4.
-
 Template configuration: The dialog box Elements, with the dialog area
Template is opened (depending on the
current state either as docking or as window).
Template configuration: The dialog box Elements, with the dialog area
Template is opened (depending on the
current state either as docking or as window). -
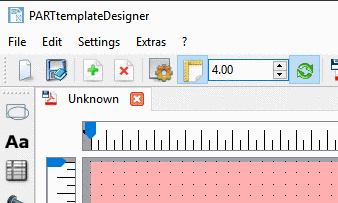
By clicking on the icon the grid is switched on or off. In the on-state the list field to set the distance of the matrix dots is visible.
The matrix dots do not only provide support at positioning of elements, furthermore the elements snap in there when moving these.
Positioning can also happen via arrow keys. On this compare Section 10.3.3, “ Designer configuration ”.
-

 Update:
Automatic update on/off.
Update:
Automatic update on/off.At complex test projects updating needs some time. Possibly turn it off.
-
 Export PDF:
Certain elements such as the U3D view become only visible in the
PDF.
Export PDF:
Certain elements such as the U3D view become only visible in the
PDF.Then possibly use this preview function. The depiction is exactly according to the later depiction in the datasheet.
-
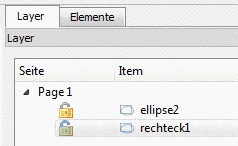
 Open layer dialog: The dialog Layer is opened (depending on the
current state as docking or as window).
Open layer dialog: The dialog Layer is opened (depending on the
current state as docking or as window).The higher the entry in the list, the more to the front the layer of the element.
Detailed information on this is found under Section 10.5, “"Layer" tabbed page/dialog box ”.
-
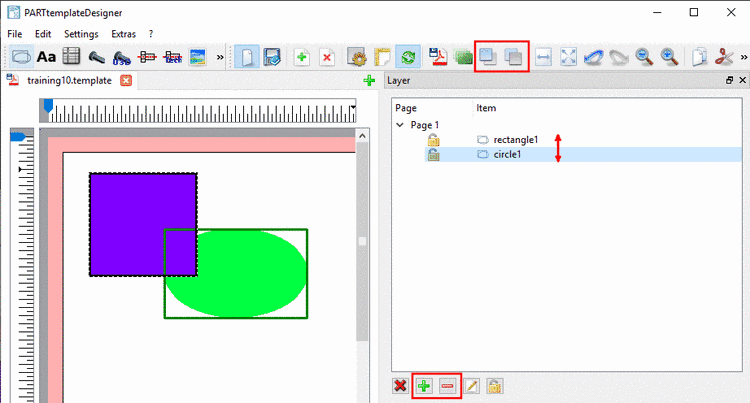
Level to the front / Level to the back:
The level of the selected object can be moved to the front or to the back by clicking on the icons in the toolbar or on the plus-minus-icons on the Layer tabbed page. The higher the entry in the list on the tabbed page Layer, the more in the front the level of the object.

 Raises the layer of the chosen items:
 Lowers the layer of the chosen items:
More information on the Layer dialog is found under Section 10.5, “"Layer" tabbed page/dialog box ”.
-
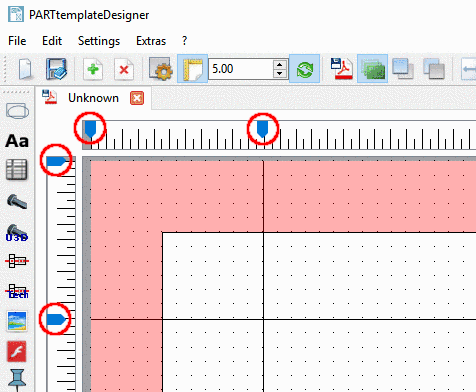
You can simply create auxiliary lines by drawing them from the top left corner into the page.
When a line is no more needed, then simply move it back to the top left corner.
-
-
Select the object to be deleted and click on the icon Delete
 in the toolbar.


![[Note]](/community/externals/manuals/%24%7Bb2b:MANUALPATH/images/note.png)


