Manual
Login
Our 3D CAD supplier models have been moved to 3Dfindit.com, the new visual search engine for 3D CAD, CAE & BIM models.
You can log in there with your existing account of this site.
The content remains free of charge.

Top Links
Manual
 |
-
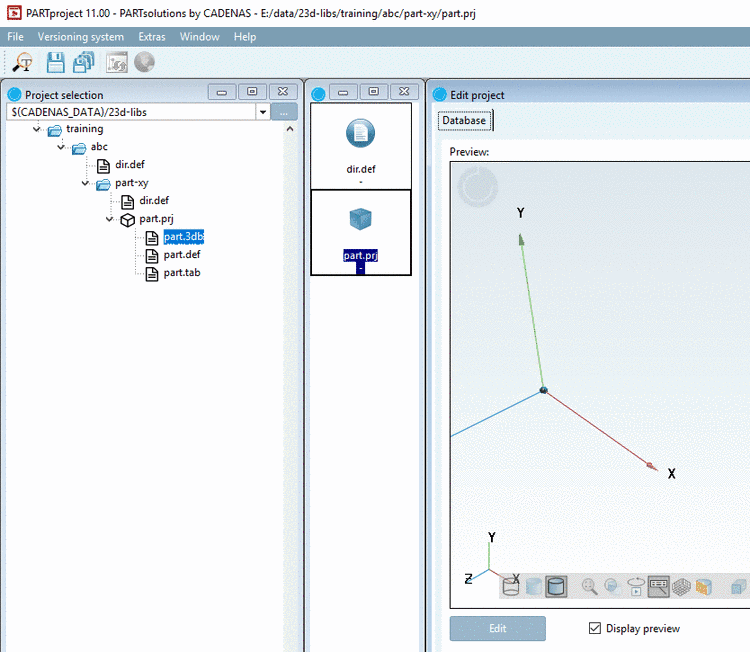
Click on „einzelteil-projekt.3db“.
-> In the dialog area Edit project, the Preview of the part geometry will be displayed. Presently there is no drawing available yet.
-
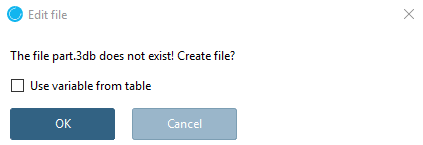
In the dialog box Edit file confirm with . The checkbox Use variable from table is not relevant, because no table exists yet, where variables could be taken from.
-
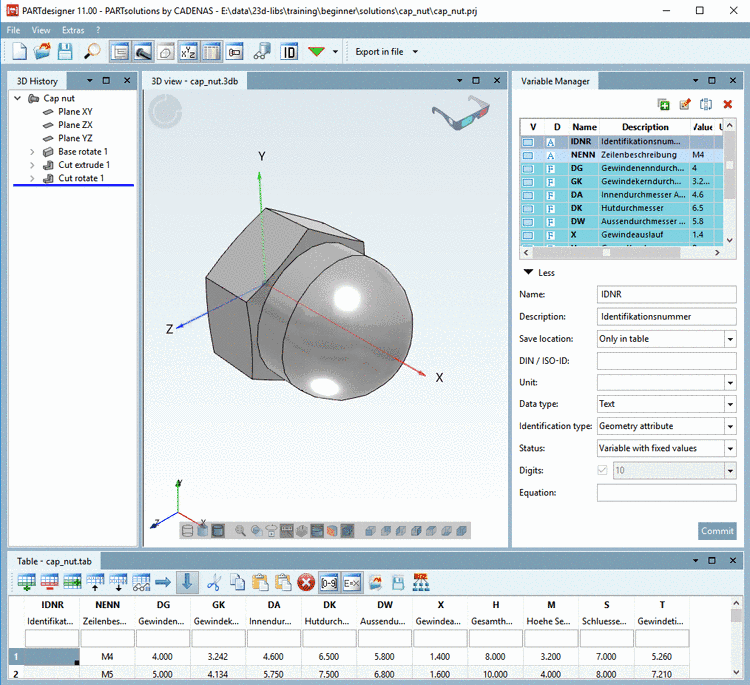
Create the Geometry / *.3db file of your part. In this example the cap nut from the training is used. On this compare under Section 7.4, “Create 3D model: Small example from A to Z ”.
-
Save the *.3db and close PARTdesigner.
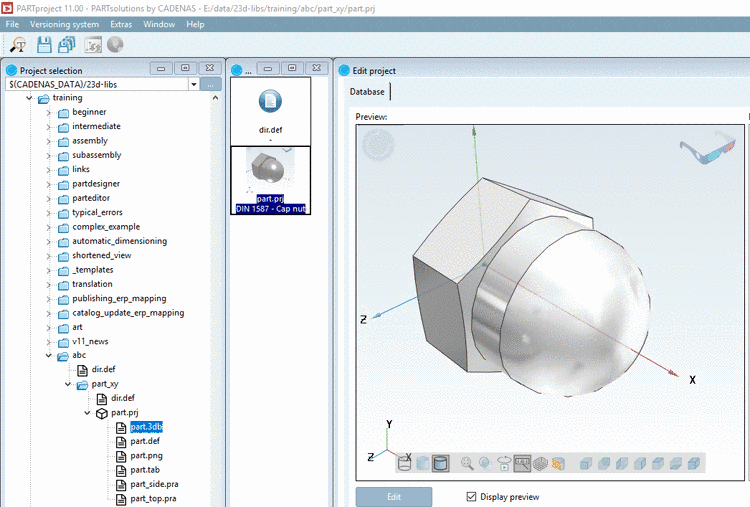
-> In PARTproject, now the geometry of the cap nut is taken as „einzelteil-projekt.3db“ ("single-part-project.3db"). The preview depicts the part.
-> Later the geometry of the cap nut will be shown as 3D preview in the Part view of PARTdataManager.