Manual
Login
Our 3D CAD supplier models have been moved to 3Dfindit.com, the new visual search engine for 3D CAD, CAE & BIM models.
You can log in there with your existing account of this site.
The content remains free of charge.

Top Links
Manual
 |
You can store documents with additional information in catalog directories (e.g. dimension sheets) (even multiple of different types [PDF, HTML, etc.]). These can then be opened in PARTdataManager or other end media.
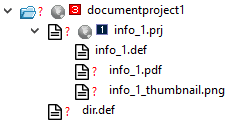
The files stored in the background (*.html, *.pdf, etc.) are wrapped in an own *.prj file.
If you want to integrate a PDF file, for example, do the following:
-
Store a PDF file in the desired PARTsolutions directory with the help of the Explorer.
A corresponding icon with the same name can also be stored as png file optionally. Alternatively, an icon can also automatically be created (see below).
-
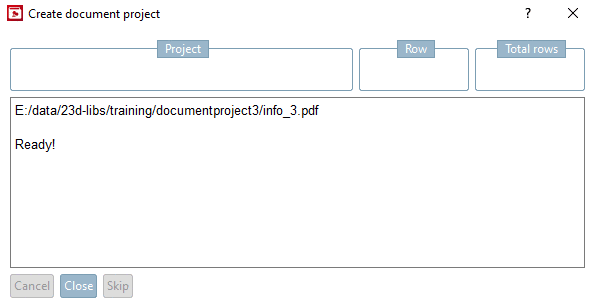
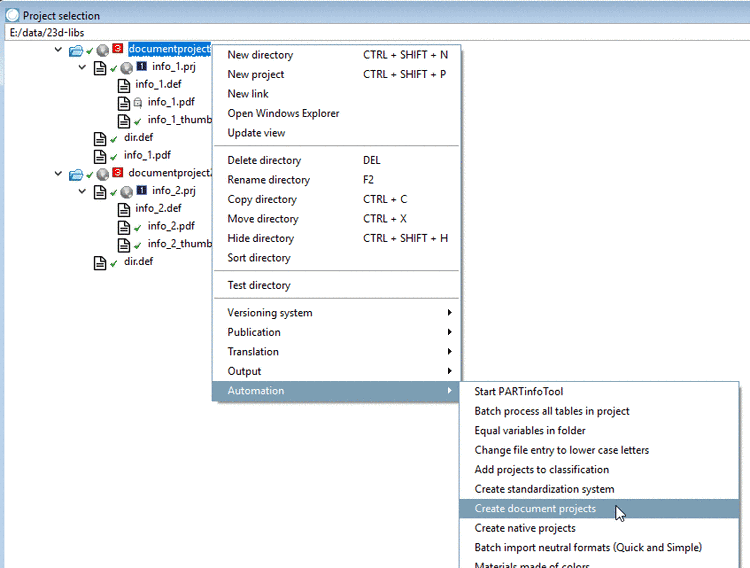
In PARTproject, select the destination directory for the document project and in the context menu, under Automation, click on the command Create document project.
-
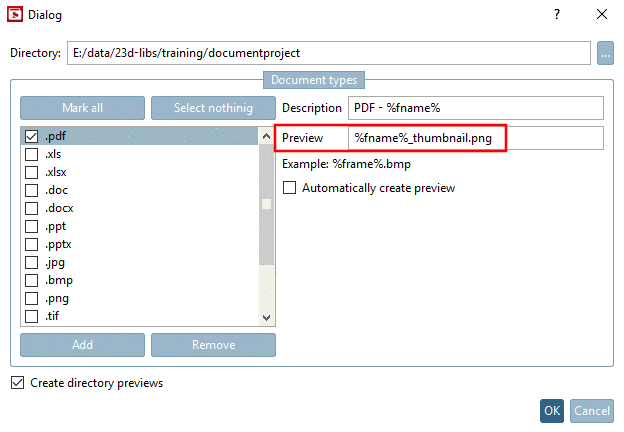
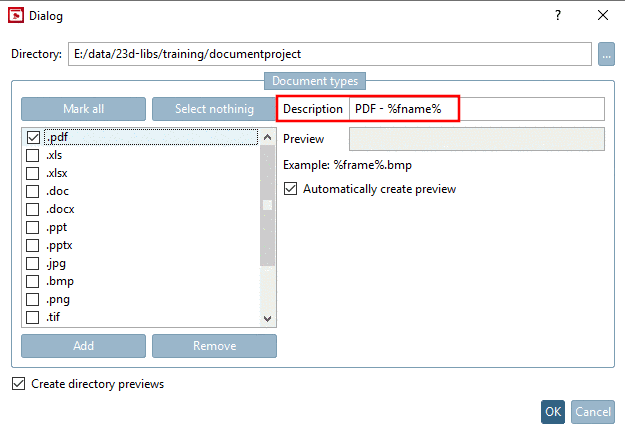
At the desired document type, activate the checkbox. Should the desired type not exist, you can add a new type with the button.
-
The name entered under Description is later displayed in end media (in PARTdataManager, PARTcommunity, etc.).
-
In order to use an adequate icon as preview in PARTdataManager (end media), you have two options:
-
-> A confirmation message is shown.
-
Update the display in PARTproject (F5).
-> The wrapping *.prj file and the preview image have been automatically created. The PDF file stored before is also content of the prj file now.
In PARTadmin, in the category Index administration, update Display index and Full-text search index.
-
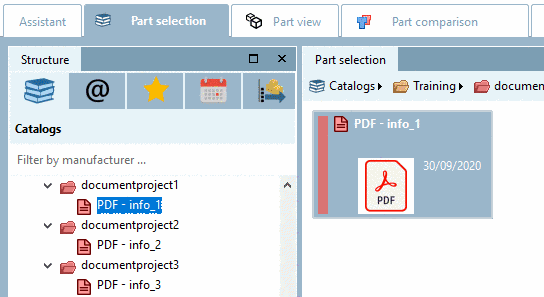
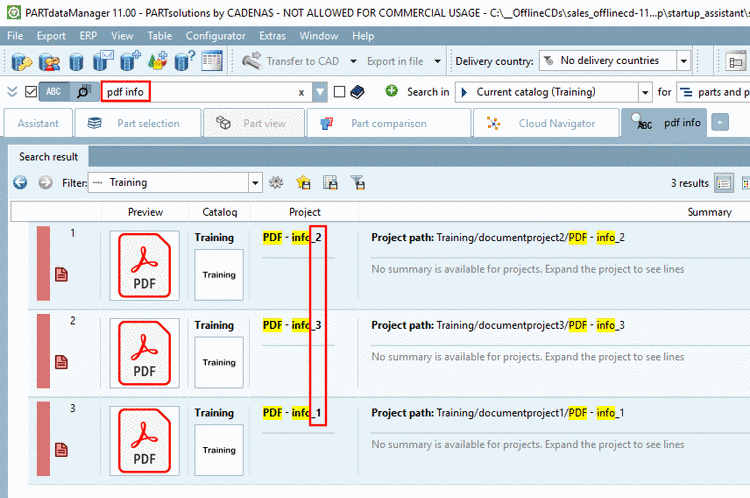
-> The documents are displayed in the Part selection.
When double-clicking on the project, the stored PDF document is opened.
-
Thanks to the unique name, the documents are clearly distinguishable.
![[Note]](/community/externals/manuals/%24%7Bb2b:MANUALPATH/images/note.png)