Manual
Login
Our 3D CAD supplier models have been moved to 3Dfindit.com, the new visual search engine for 3D CAD, CAE & BIM models.
You can log in there with your existing account of this site.
The content remains free of charge.

Top Links
Manual
 |
-
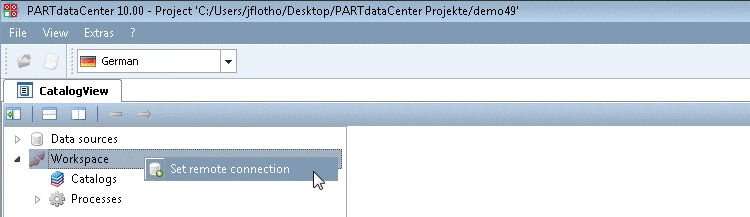
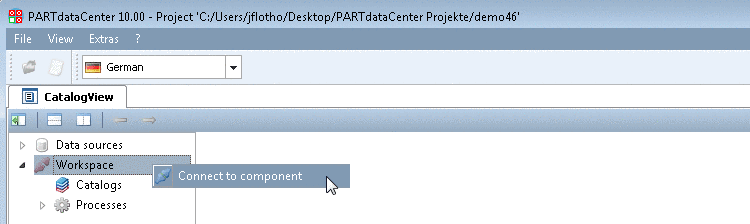
When starting PARTdataCenter the connection to the server has to be established. Otherwise no catalogs will be displayed.
Therefor, under Workspace, click on the context menu command Set remote connection (initially at a new project).
Or click on the command Connect to component (at an already existing project).
-
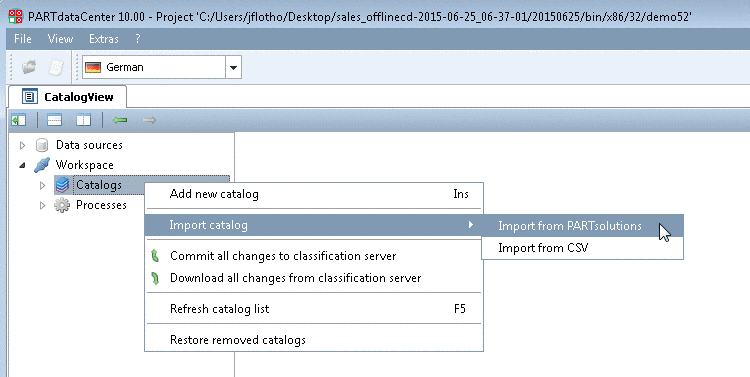
Import catalog -> Import from PARTsolutions
The catalog is imported from $CADENAS_DATA into the Appserver (PARTwarehouse Store) and now can be edited by different users.
The respective call can be found under Workspace -> Catalogs.
Details can be found under Section 3.2.3.2, “Import PARTsolutions catalog”.
-
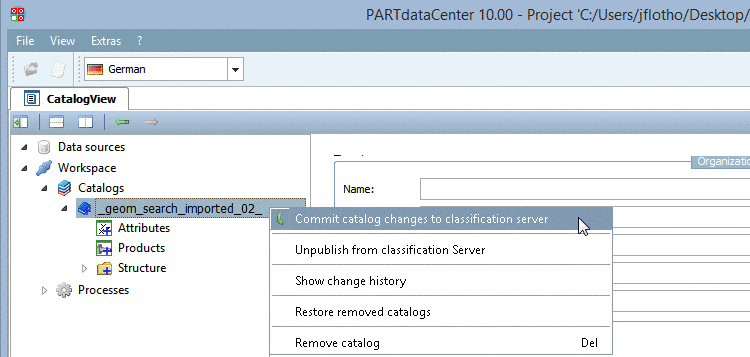
Commit catalog changes to classification server
Changes in the local status can be recognized by red-colored directories and the respective icon
 .
.A newly imported catalog is marked by a blue plus sign on all icons. After an import the catalog should be initially uploaded to the server and afterwards is visible for all users. Then, upload changes successively whenever you want.
![[Note]](/community/externals/manuals/%24%7Bb2b:MANUALPATH/images/note.png)
Note -
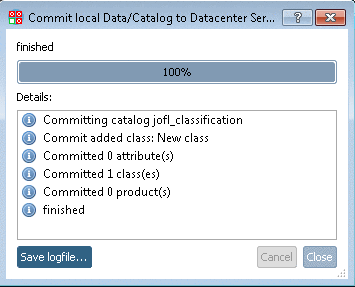
If the commit has been successful then at the end of the log, "finished" is displayed.
Each commit results in an entry in the history. You can restore every version of history. On this see Section 3.2.6.5.1, “ Show change history / Show history of products in subtree ”. The more intermediate steps the more precise you can restore a certain status.
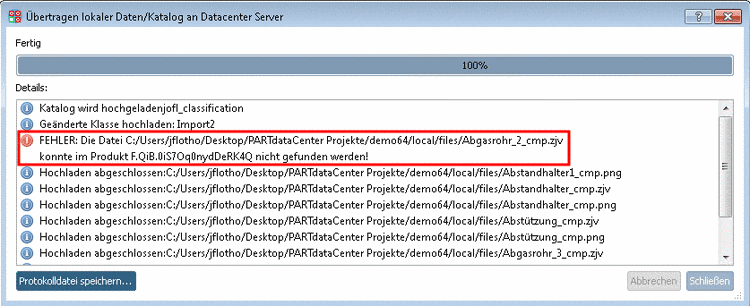
Note Should the catalog structure be faulty (for example because of faulty import parts) committing is not possible.
The error is displayed in the details list of the log.
Notes how to solve problems are found under Section 3.2.11, “Troubleshooting ”.
-
-
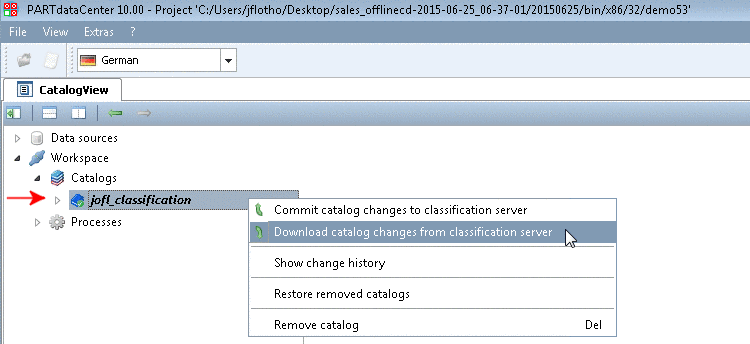
Download catalog changes from classification server
Updating of the local Workspace is recommended if the catalog name is displayed in bold. This signals that changes have been made by another user.
On the respective catalog, call the command Download catalog changes from classification server.
-> Thereafter the catalog name is displayed in normal font again.
-
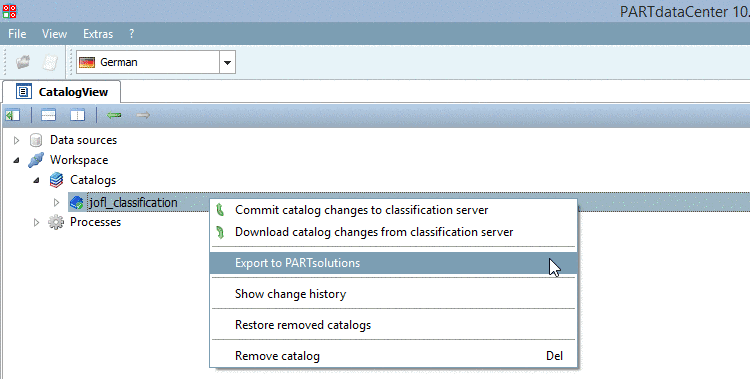
Export to PARTsolutions: Appserver (PARTwarehouse Store) -> $CADENAS_DATA
After an export the catalog is available for all end users.
Due to background processes on the server the export of large catalogs may take some time. Once the export is finished you can see the result in PARTdataManager.