Manual
Login
Our 3D CAD supplier models have been moved to 3Dfindit.com, the new visual search engine for 3D CAD, CAE & BIM models.
You can log in there with your existing account of this site.
The content remains free of charge.

Top Links
Manual
 |
PART2cad (direct integration) simplifies the download of CAD models. They are loaded quickly and directly into the CAD system. Temporarily saving of parts is not necessary.
![[Note]](/community/externals/manuals/%24%7Bb2b:MANUALPATH/images/note.png) |
Note |
|---|---|
|
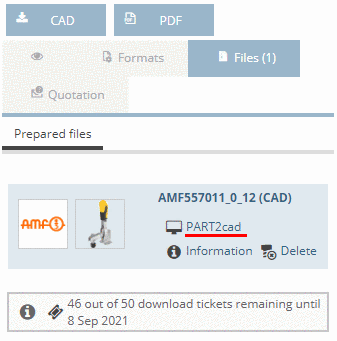
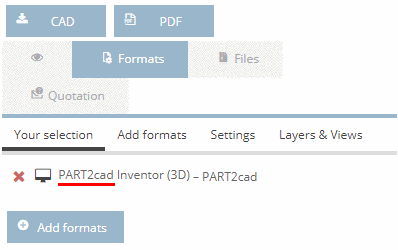
Precondition: Under -> Add formats -> PART2cad, a format has to be chosen. Your selection is show under Your selection. | |
Make sure that the desired part is specified in the Table view (and in the Variable view if there are value range fields).
-
Generate the part by clicking on the button or .
➝ Once the generation finished, the part is displayed in the download area.
-
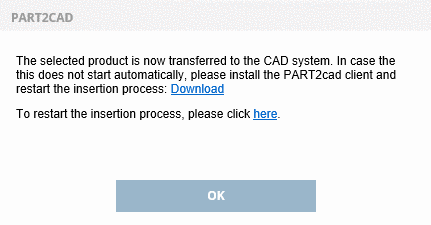
The direct integration is starting and a respective message appears.
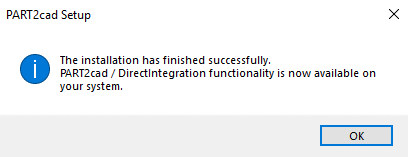
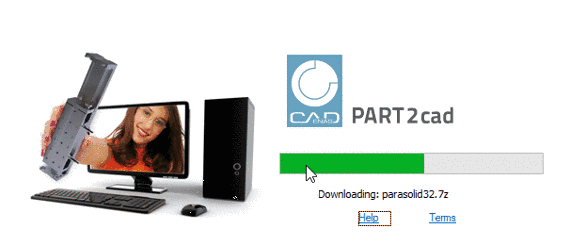
If the application component PART2cad is already installed, this message has no further meaning (continue with selection CAD version), otherwise see following note.
-
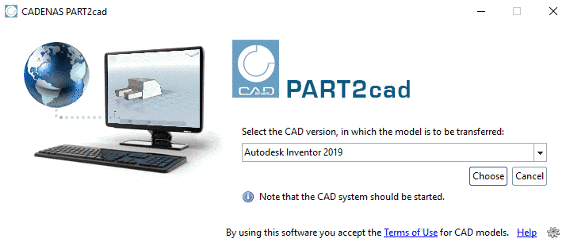
Open the list field and select the CAD version where the model is to be transferred. Confirm your selection by clicking on .
➝ A specific dialog box according to the used CAD system is displayed. Perform the required settings.
-
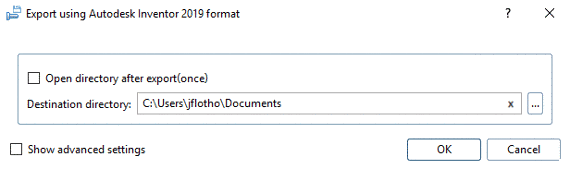
Select the preferred destination directory. Use to browse. Confirm your entries by clicking .
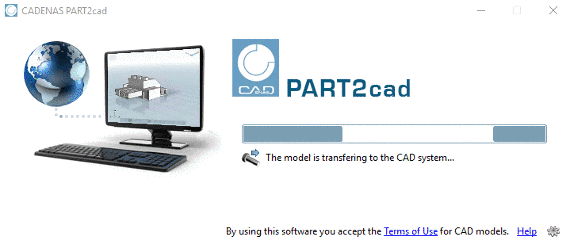
➝ The model is transferred to the CAD system.
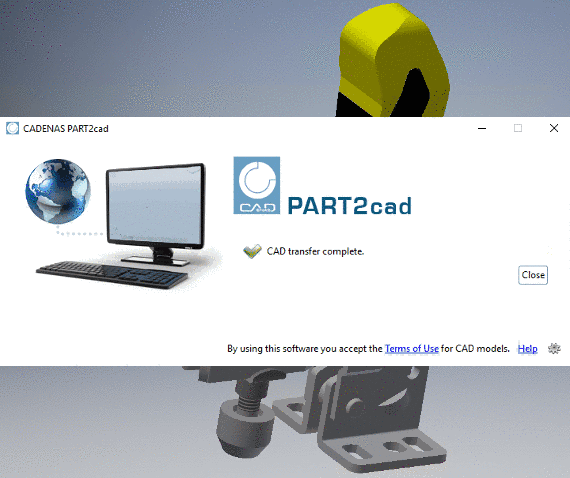
➝ The part has been imported into the CAD system.
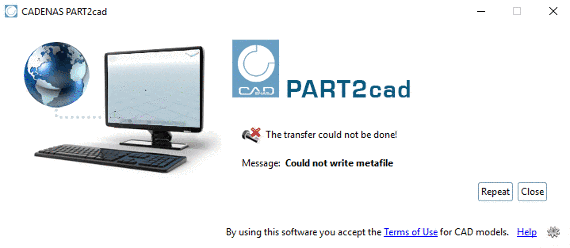
If the CAD system is not started or the wrong version was chosen, an error message will be shown.