Manual
Login
Our 3D CAD supplier models have been moved to 3Dfindit.com, the new visual search engine for 3D CAD, CAE & BIM models.
You can log in there with your existing account of this site.
The content remains free of charge.

Top Links
Manual
 |
In the following you can find notes on page structure and function logic.
-
The upper area with menus and toolbars is always visible. Which menus, menu items, buttons and toolbars are actually displayed can be set via configuration files. On this see Section 1.7.9.2, “ Tweak menus, menu items, toolbars, buttons and context menu commands ” in PARTsolutions / PARTcommunity4Enterprise - Administration Manual.
-
The display in the lower area depends on the current tab selection.
Fig. „ Part selection: Starting interface of PARTdataManager“ shows the starting user interface of PARTdataManager. There you can return anytime via click on the tab Part selection whereby the lastly shown selection (see next point) is shown again, not necessarily Catalogs , but possibly Classifications, Favorites, History, Document scan as well.
After a performed search automatically, the tabbed page Search results is loaded.
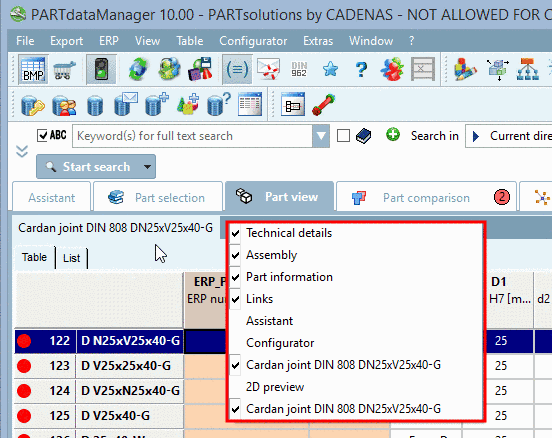
When loading a certain project the user interface switches to the Part view . Here all characteristics are displayed (table or list view). Each characteristic can be checked via 3D view . Furthermore Technical Details or Dimensioning Views are displayed. Here you can determine the desired characteristic before transferring it to the CAD system.
![[Note]](/community/externals/manuals/%24%7Bb2b:MANUALPATH/images/note.png)
Note Vial tabs you can switch between the pages anytime.
Calling the Part view is optional. In the Part selection characteristics can be selected as well.
Then, via , parts can be exported to the CAD or first be opened in the Part comparison. There both a textual and a 2D/3D check can be performed and then the part be exported to the CAD system.
The area below the tabs (Assistant, Part selection (with subitems Catalogs , Classifications , Favorites , History , Document scan ), Part view , Part comparison , Cloud Navigator , Search results ) is controlled by them.
-
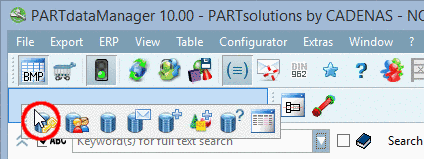
You can move toolbars via Drag & Drop.
-
The user interface is subdivided by docking windows.
You can arrange the windows as desired. Changes are saved and reloaded at the next start.
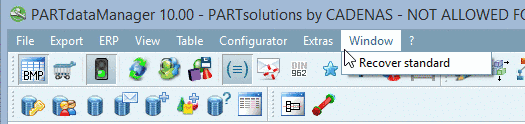
May be you disarranged docking windows to try something out and now you want to return to the standard setting. Then, in the Window menu simply click on Recover standard.
Via context menu command over a window, you can show or hide the single dockings.
In order to perform positional changes click on the title bar of a docking window and draw it to the desired position with pressed left mouse key. If you release the mouse key outside the main window the docking appears as separate window so that you can move it to a second monitor if desired.
If you move the docking over the tab area then a free area opens, where you can put it down.
If you move the docking over the title bar of another docking window and release the mouse key there then the window is displayed with its own tab together with the other docking.
A detailed description of the placing method can be found under Section 3.1.5.4, “Placing method for dockings ”.