Manual
Login
Our 3D CAD supplier models have been moved to 3Dfindit.com, the new visual search engine for 3D CAD, CAE & BIM models.
You can log in there with your existing account of this site.
The content remains free of charge.

Top Links
Manual
 |
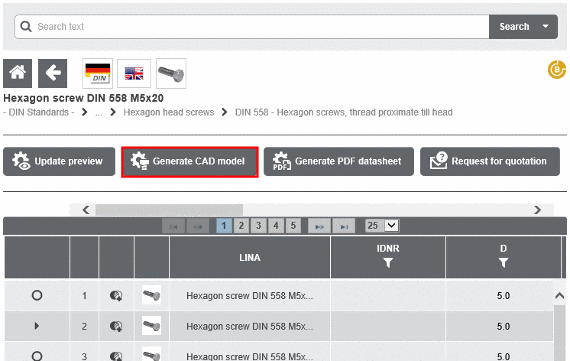
Follow the steps listed below to integrate the chosen CAD model into your CAD system directly:
-
In the dialog area for the download of CAD models, under Edit CAD formats -> Add CAD formats select the transfer mode directIntoCad. Then determine your CAD system and click on .
-> The view returns to the dialog area Generation options / Selected formats. Confirm your entries by clicking on .
-
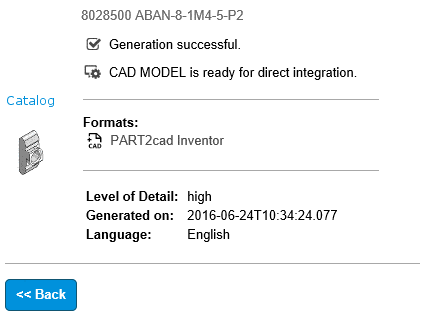
As soon as the generation has completed, you can submit the CAD models to the CAD system in this window directly by clicking the link Direct integration.
If you close this window, further CAD models can be selected.
Furthermore all generated CAD models are listed under Download CAD models.
-> In the transfer mode Direct integration into CAD system the link text will be
 Direct integration.
 -
By clicking the link Info specific part information is displayed:
-
Click on the link Direct integration or the symbol
 , in order to load parts into the CAD
system.
, in order to load parts into the CAD
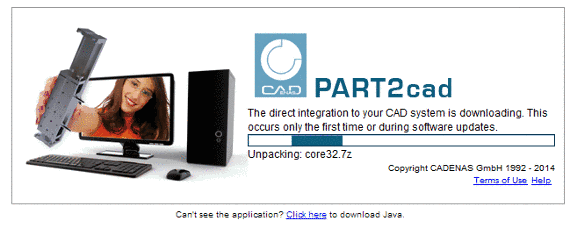
system.Install it during the first run. The necessary installer opens automatically.
The installer itself needs Java.
-> Once Java is installed the PART2cad installation will start. If Java is not installed, there will be no Java logo displayed. In this case click on the link and install Java.
-> Warning messages may show up. Let the component PART2cad install.
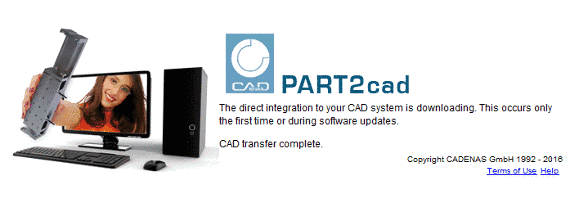
During the first run the direct integration PART2cad will be downloaded.
Following runs will open the dialog Transferring model to CAD. No user interaction is necessary.
-
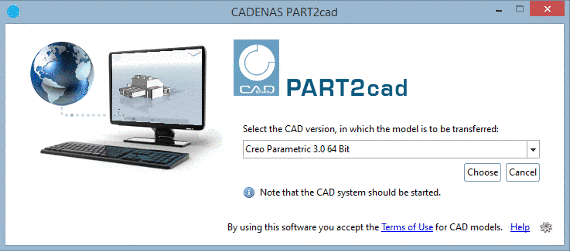
In the drop-down menu select the CAD version where the model is to be transferred. Confirm the selection with .
-> A specific dialog box of the used CAD is opened. Make the required settings.
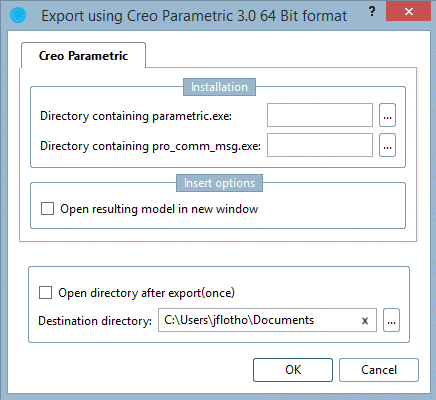
-
Select the preferred destination directory. Use to browse. Confirm your entries by clicking .
-> The model is transferred to the CAD system.
-> The part has been imported in the CAD system.
If the CAD system is not started or the wrong version was chosen, an error message will be shown.

![[Note]](/community/externals/manuals/%24%7Bb2b:MANUALPATH/images/note.png)