Manual
Login
Our 3D CAD supplier models have been moved to 3Dfindit.com, the new visual search engine for 3D CAD, CAE & BIM models.
You can log in there with your existing account of this site.
The content remains free of charge.

Top Links
Manual
 |
The following describes how you can import your own part from your CAD system into the User library and then export it.
-
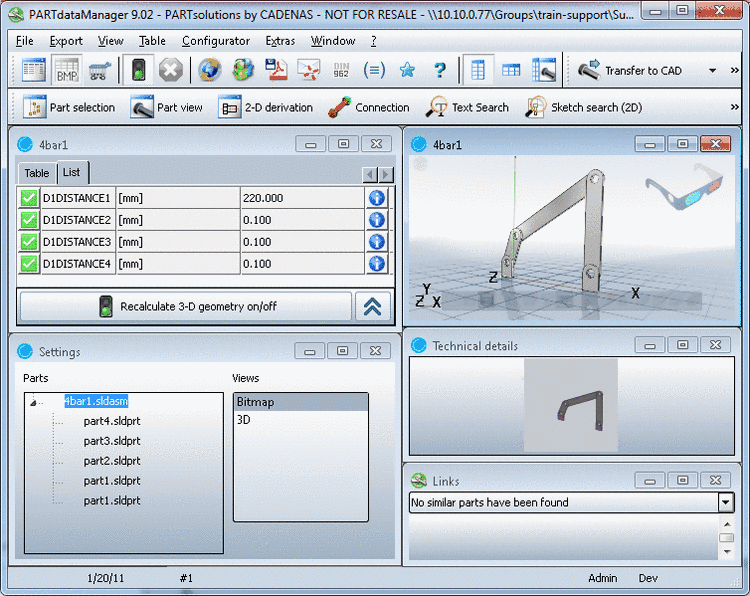
PARTsolutions Insert 3D Seamless Replace Extras Execute Geometric Search Insert Connection User library Insert Settings Info -
-
Optionally click on , in order to create a new subfolder.
-> The New directory dialog opens. Enter the Last name and Description and confirm with .
-
Select a folder in which you want to import the part and confirm with .
--> The part is only located in the My Parts library.
![[Note]](/community/externals/manuals/%24%7Bb2b:MANUALPATH/images/note.png)
Note During the check-in process, a geometric classification (fingerprint) is automatically executed so that the own part can also be available for the geometrical search.
-
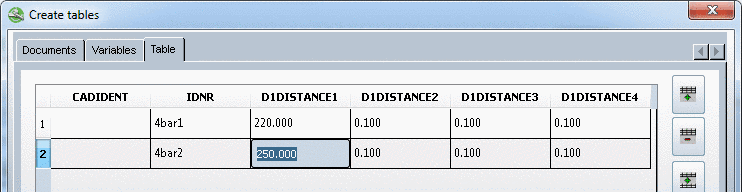
Add, if desired, the data of the part by upgrading the respective table, for example:
-
after the part has been inserted into the User library call up the Create tables dialog with PARTdataManager -> Table -> Edit. Select the Table tab page.
More information to this you can find under Section 3.1.19.2.4, “ Table ”.
-
Exporting own parts from the My Parts directory into the CAD system is the same process as for standard and supplier parts.