Manual
Login
Our 3D CAD supplier models have been moved to 3Dfindit.com, the new visual search engine for 3D CAD, CAE & BIM models.
You can log in there with your existing account of this site.
The content remains free of charge.

Top Links
Manual
 |


-
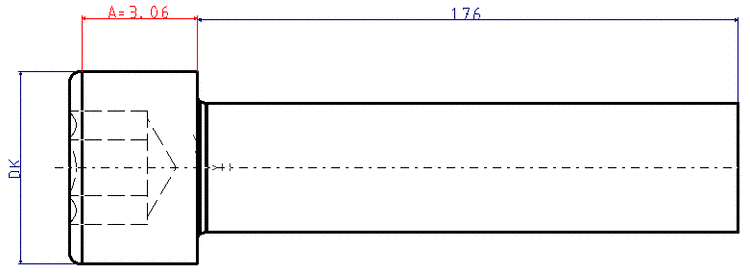
Draw the dimensioning line at the desired position und fix it by mouse click.
--> All dimensioning elements and the menu window Change parameter become visible.
Define the Offset value (dimension to reference axis) and the Height (Type size) of dimension (see fig.).
-
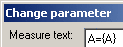
Default is "{AUTOMATIC%0}" with curly braces. (In the above example "%0", so that "8" without decimal places is displayed as dimensioning number.
"AUTOMATIC" takes the current value from the geometry. (Not recommended).
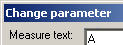
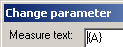
Define a static, dynamic or mixed static-dynamic Measure text.
Using %"number" you can define Decimal digits. (For example: A={A%2})
![[Note]](/community/externals/manuals/%24%7Bb2b:MANUALPATH/images/note.png)
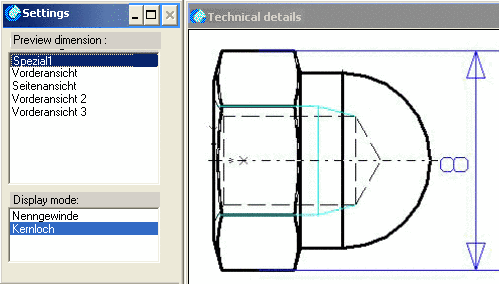
Note To satisfy high design demands, you can create external preview pictures and provide it as *.pra file for example. On this see Section 5.5.2, “Import DWG/DXF files and convert them into .pra format”.
Dynamic generation of the variables content in the measure text is only possible like described above!
-
The new created view will be displayed in the "History" menu.
-> The dimensioning image is now available as 2-D view in PARTdataManager.