Manual
Login
Our 3D CAD supplier models have been moved to 3Dfindit.com, the new visual search engine for 3D CAD, CAE & BIM models.
You can log in there with your existing account of this site.
The content remains free of charge.

Top Links
Manual
 |
![[Note]](/community/externals/manuals/%24%7Bb2b:MANUALPATH/images/note.png) |
Note |
|---|---|
The approach described here is obsolete. Normally dimensioning views are provided by the customer in the form of DWG/DXF files. These can be imported into PARTproject and converted to .pra. On this see Section 5.5.2, “Import DWG/DXF files and convert them into .pra format”. | |
Generate HPGL / PRA data on any CAD system with the free driver "Roland DXY 1150".
-
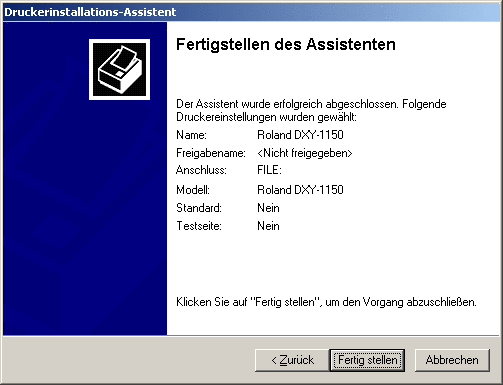
Call up the printer installation assistant under "Start -> Settings -> Printers and Faxes -> Add Printer". Follow the directions.
-
Create a dimensioning drawing in the CAD system.
Either create the drawing completely in the CAD system, or create the 2D derivation of the geometric part in the PARTdesigner and export it per direct interface, or in *.DXF format to the respective CAD system. Then enter the desired Dimensions into the CAD program.
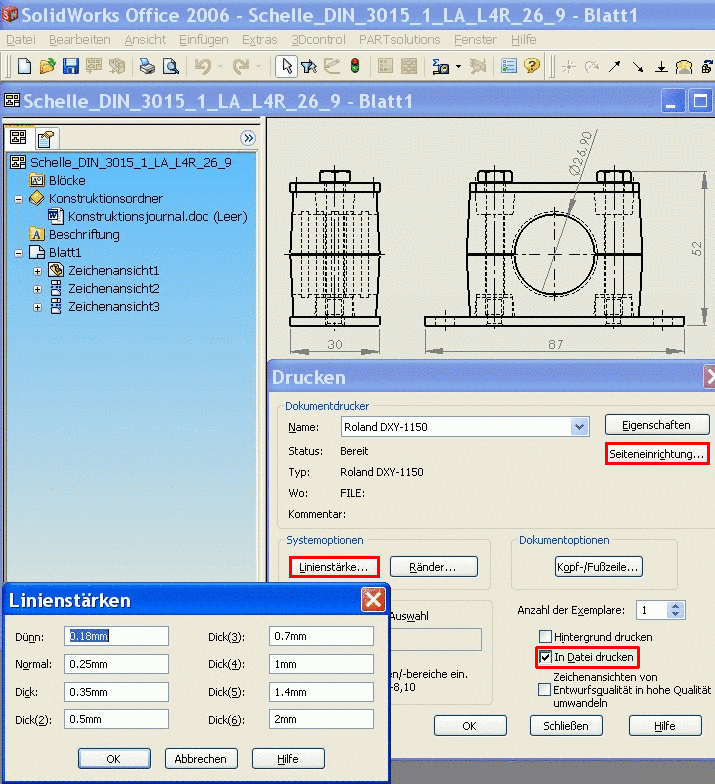
(The following diagram shows SolidWorks, for example)
Select "Roland DXY 1150" as the document printer.
Activate the checkbox "print in file".
Under set the page format (portrait, landscape) so that the display is carried out in the correct orientation.
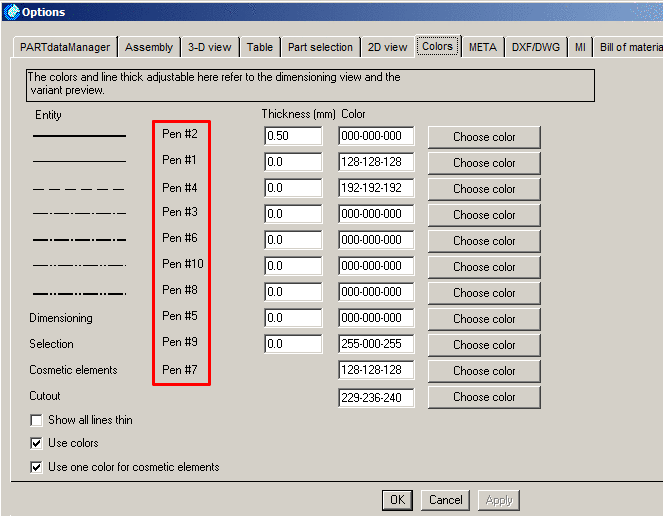
Under PARTdataManager -> Extras -> Preferences... -> Register Colors, arrange the pin thickness according to the defaults under in the printer menu, in other words, to the CAD used line thickness.
Confirm printing with OK. In the designated output area you receive a "*.prn" file.
Copy the file under "$CADENAS_DATA/23d-libs" into the corresponding project directory.
-
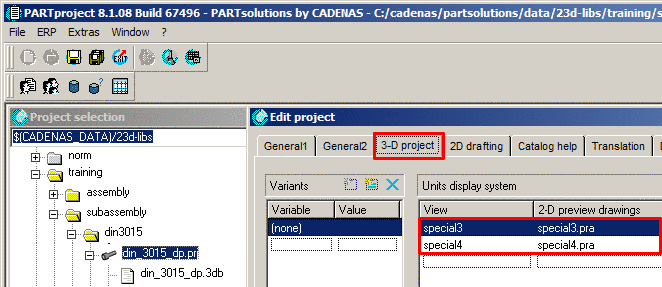
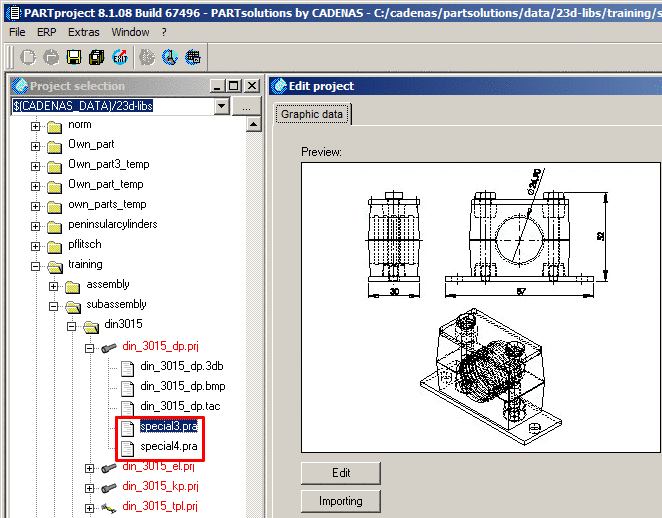
Integrate this file via PARTproject.
Window Edit project -> Register 3D project -> Dimensioning views
Assign any selectable name from View. Choose the corresponding *.pra file from the File with dimensioning pull-down menu.
-> In Project selection, the *.pra file is shown.
As soon as you want to mark the file, Preview shows up.
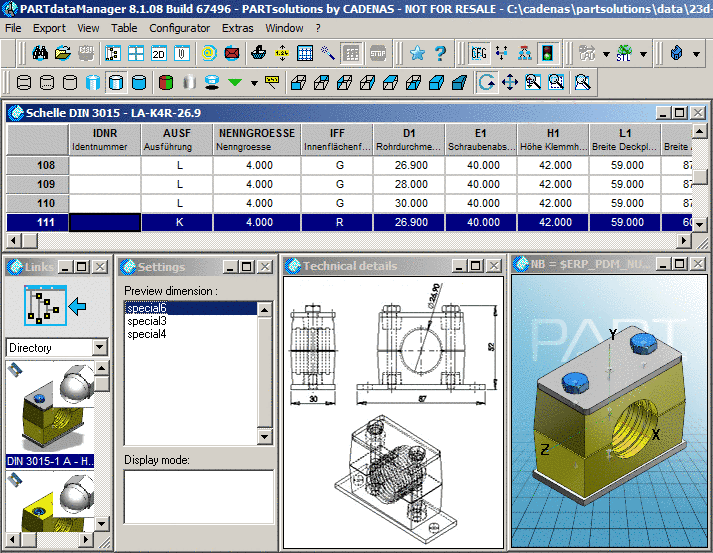
-
Call up the PARTdataManager. Select the desired Preview dimension in the Settings menu. These are shown in the Technical details dialog window.