Manual
Login
Our 3D CAD supplier models have been moved to 3Dfindit.com, the new visual search engine for 3D CAD, CAE & BIM models.
You can log in there with your existing account of this site.
The content remains free of charge.

Top Links
Manual
 |
A PARTsolutions catalog has to be initially imported in PARTdataCenter.

-
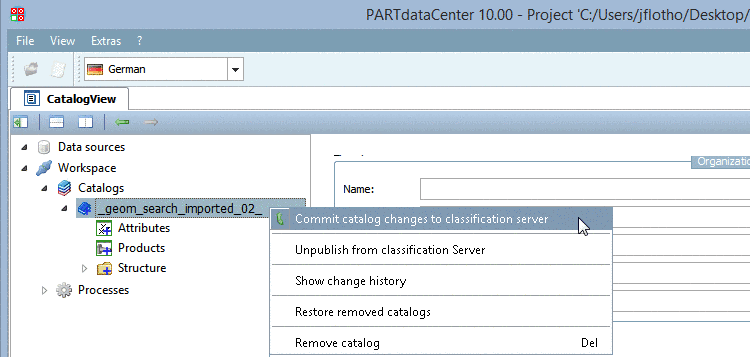
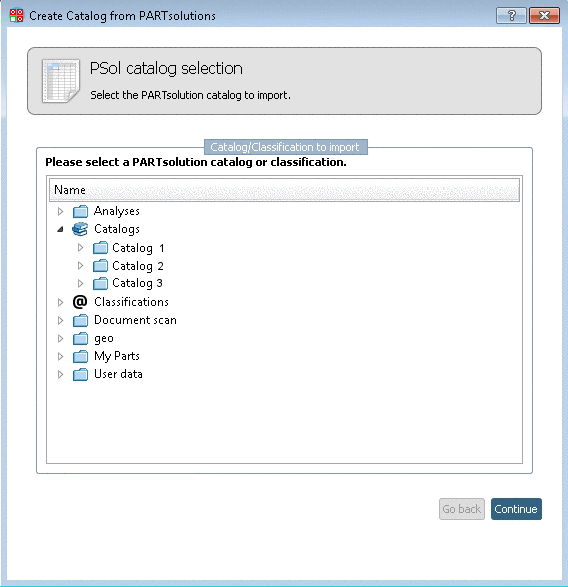
In the context menu of Catalogs, click on the menu item Import catalog -> Import from PARTsolutions.
-
-> The dialog box Create Catalog from PSOL is opened.
-
-> The setting options PARTsolutions Import Settings are opened.
Activate Import only existent documents in addition.
Option Import Link Database fields: If the option is enabled then the LinkDB columns are overtaken in addition and thus are available as class features.
-
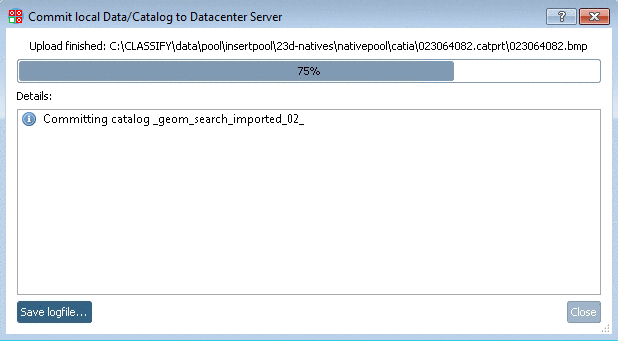
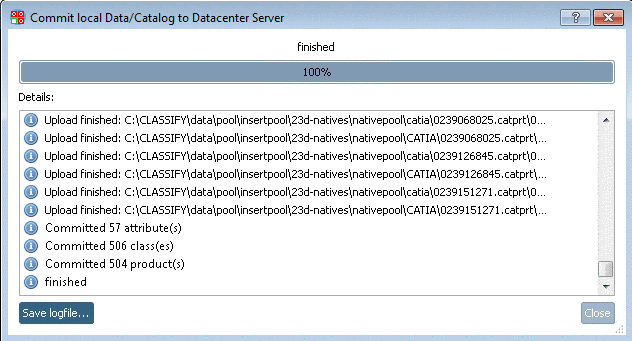
-> The PARTsolutions catalog is imported now. After finished import you will get the respective confirmation message.
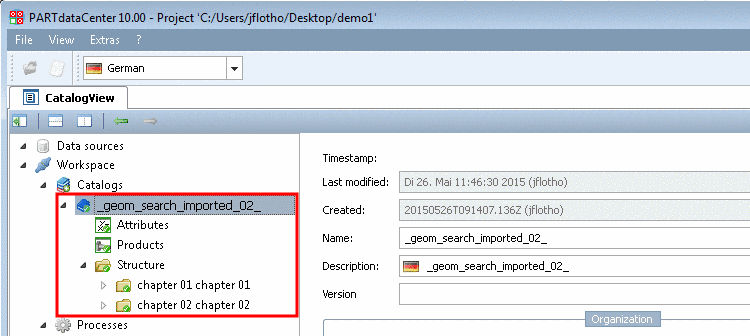
-> The standard user interface opens again. Under menu item Catalogs, you can see the imported catalog now.
-


![[Note]](/community/externals/manuals/%24%7Bb2b:MANUALPATH/images/note.png)