Manual
Login
Our 3D CAD supplier models have been moved to 3Dfindit.com, the new visual search engine for 3D CAD, CAE & BIM models.
You can log in there with your existing account of this site.
The content remains free of charge.

Top Links
Manual
 |
![[Note]](/community/externals/manuals/%24%7Bb2b:MANUALPATH/images/note.png)
Once you
clicked on the button Export to CAD
 in PARTdataManager or Seamless, the view changes to
the CAD and the placement dialog is opened.
in PARTdataManager or Seamless, the view changes to
the CAD and the placement dialog is opened.
The
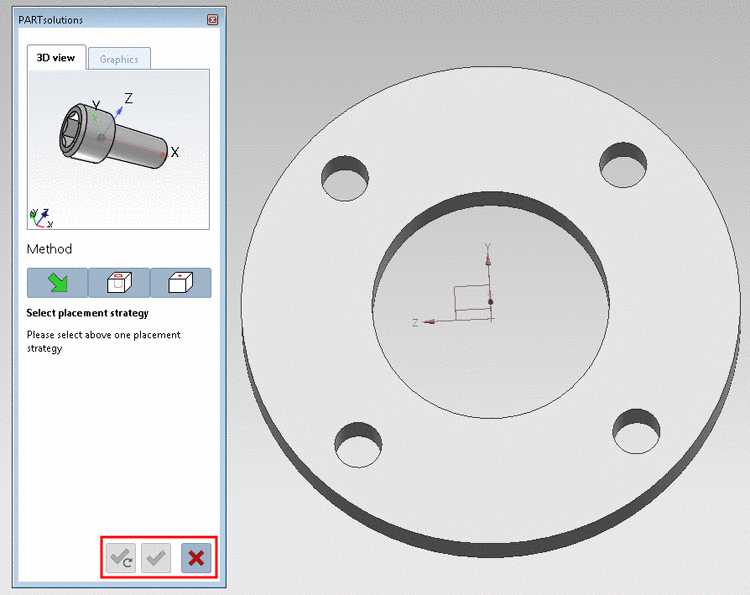
buttons below for the confirmation of the placement are still
inactive. By clicking on  , you can cancel the placement action.
-
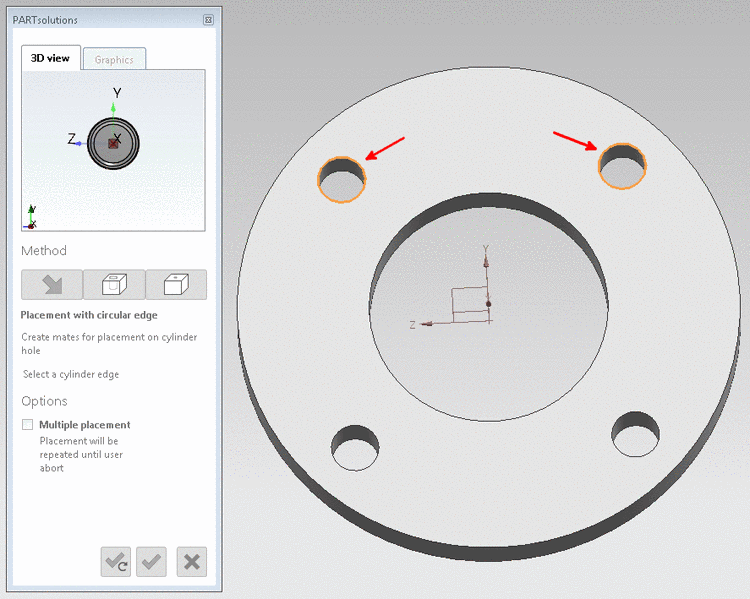
Click on the button In Cylinder
 .
.-> The 3D view in the placement dialog shows the possible connection points now. Should there be several possible connection points, respective information is given in the placement dialog.
-> In the placement dialog on the tabbed page Graphics, you can find 3D images of the part or technical views (if available).
-
Select a cylinder edge (element which clearly defines the placement position).
Multiple placement optionally: Simply select several cylinder edges (depending on CAD with or without Ctrl key).
-
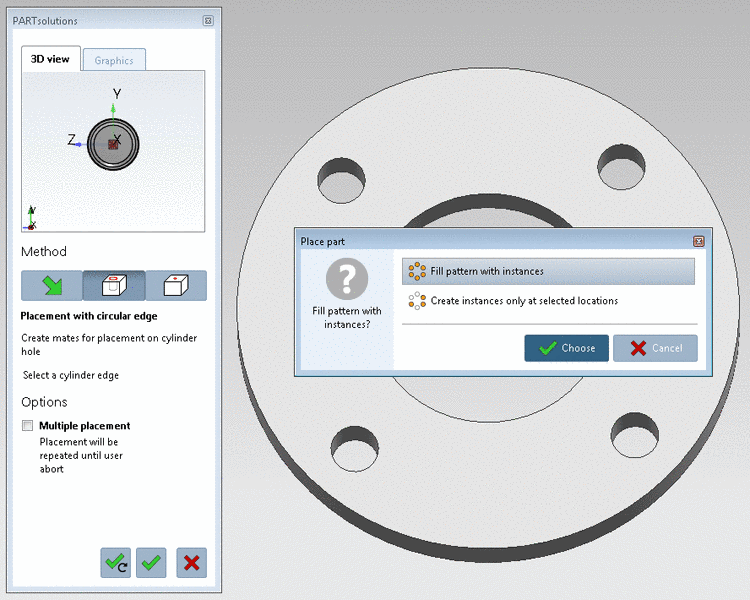
Click on Place once
 or Place multiple
 .
.If a pattern is recognized, a query is automatically displayed, whether the part shall be inserted in all pattern instances.
Select the desired option and confirm by clicking on .
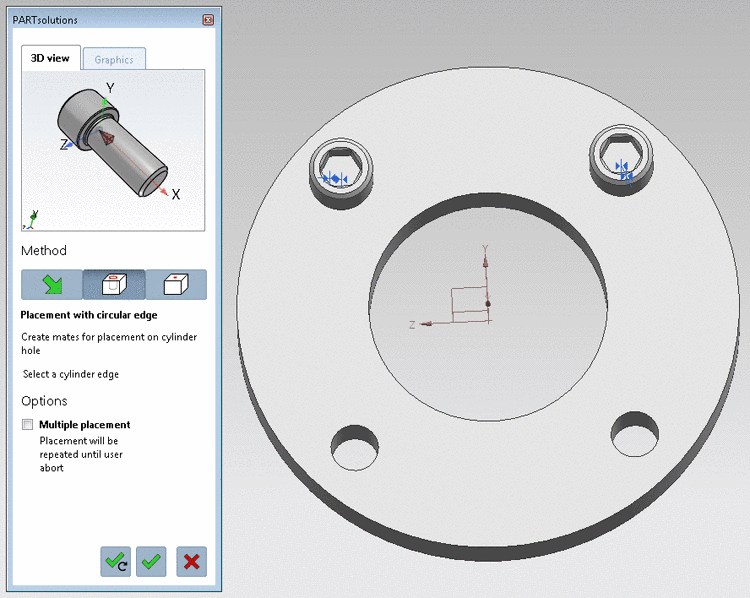
-> The bolt is placed in the hole.
-
Optionally perform other placements or close placement dialog