Manual
Login
Our 3D CAD supplier models have been moved to 3Dfindit.com, the new visual search engine for 3D CAD, CAE & BIM models.
You can log in there with your existing account of this site.
The content remains free of charge.

Top Links
Manual
 |
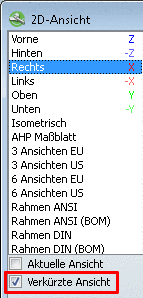
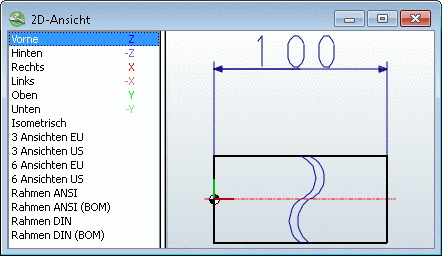
An example will explain in detail all steps that are required for displaying an alternatively shortened 2D view. In order to further clarify the effect, an easy long pipe is selected. The length ("HUB") is to be displayed alternatively shortened. To do this, a further variable ("HUB2D") is needed.
![[Note]](/community/externals/manuals/%24%7Bb2b:MANUALPATH/images/note.png)
Do the following:
-
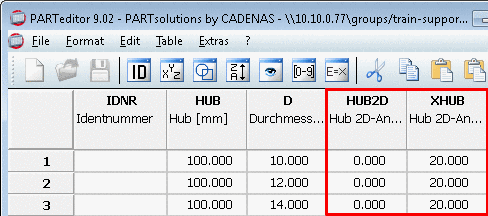
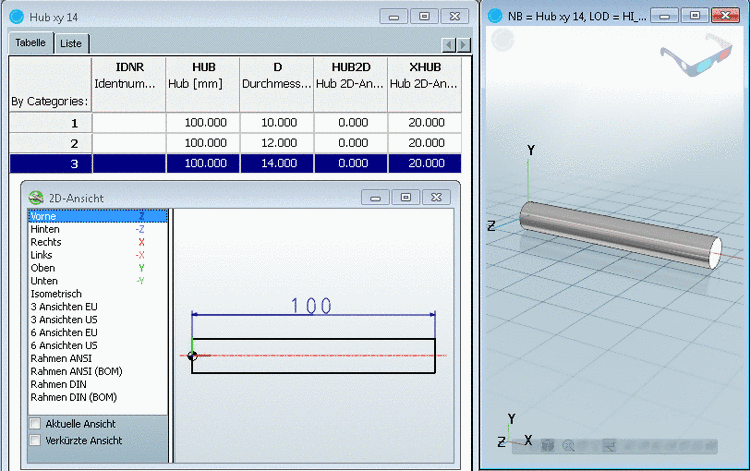
As starter a pipe with the variables "HUB" for Length (Width) and "D" for diameter is used.
Expand the table in PARTeditor:
-
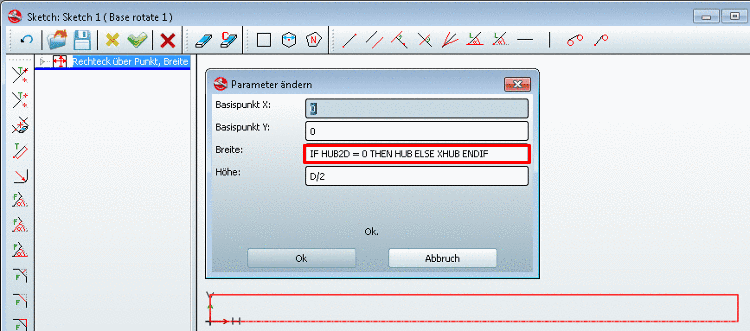
Draw a rectangle in the sketch via Rectangle (point, width and height).
In the input field Width, do not use the usual entry "HUB", but the following with the condition:
IF HUB2D = 0 THEN HUB ELSE XHUB ENDIF
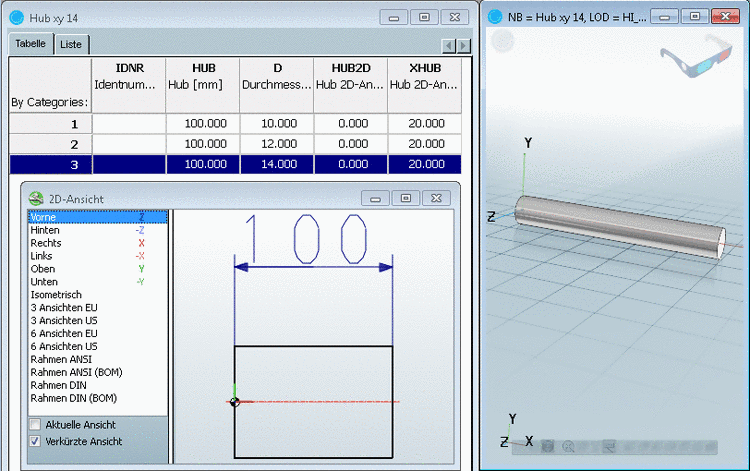
If "HUB2D" equals '0' , then the variable "HUB" is used, otherwise variable "XHUB". In the standard view "HUB2D" = '0', but if you switch to shortened view, then variable "HUB2D" is assigned the default value "XHUB", in other words it is now no longer equal to '0'. Thus, "XHUB" is now used in the input field Width.
-
Set the connection points. These may also be used for automatic dimensioning.
-
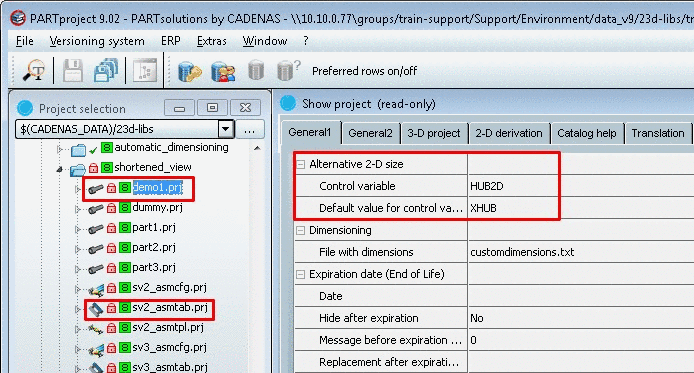
Set the following entries for the single part or assembly projects (see Fig. „Alternative 2D size“) funder PARTproject -> Edit project -> tab page General1 -> section Alternative 2D size:
-
Optionally, you may set the automatic dimensioning. The displayed measure should not change when turning on the shortened view! Therefore, no IF condition is used for "text", but "hub".
A detailed description of automatic dimensioning can be found under ???.
CUSTOMDIMENSIONS { HORIZONTAL { PNT1 { CONPNT { "vorne" } } PNT2 { CONPNT { "hinten" } } POSITION { BBOXOFFSET{ 15 } } FONTHEIGHT { 3.5 } TEXT { "{HUB}" } } } -
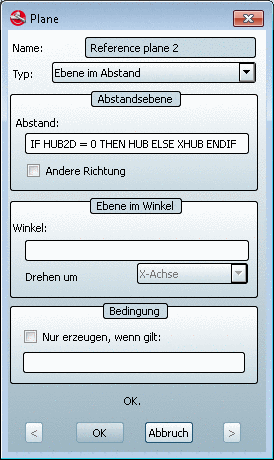
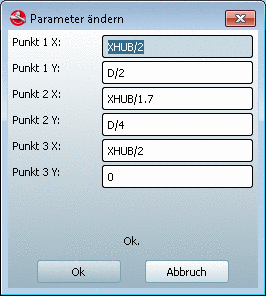
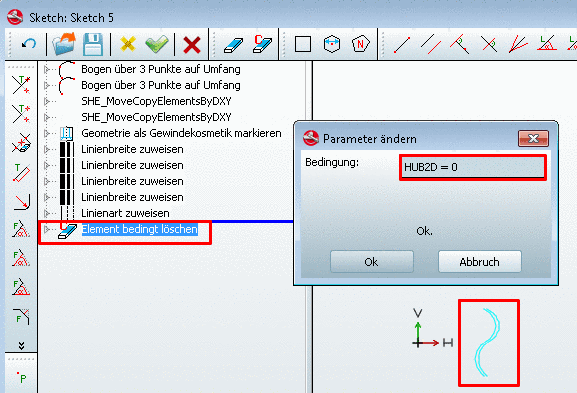
In order to visualize the Shortened view, add a sketch with a "cosmetic drawing" on the same plane as the main sketch (in this example plane XY).
For the curved line, use the function Arc through 3 points on circle.
For the positioning of the points, use the variable for the shortened hub ("XHUB").
XHUB/2
In order for the help lines to only be visible in the Shortened view, use the function Delete element with condition with the following condition:
HUB2D = 0