Manual
Login
Our 3D CAD supplier models have been moved to 3Dfindit.com, the new visual search engine for 3D CAD, CAE & BIM models.
You can log in there with your existing account of this site.
The content remains free of charge.

Top Links
Manual
 |
-
-
In the toolbar, click on the desired icon:
-
Drag out the element area at the desired template position with the cursor. Approximate positioning is completely sufficient, because you can determine the exact position and dimensioning via dialog area afterwards.)
-
Determine an unique name and confirm with .
-> The dialog area Elements is displayed with specific setting options (either as docking or as single window).
-
Adjust element position and size and perform the other settings.
Detailed information on this is found in the single sections:
-
-
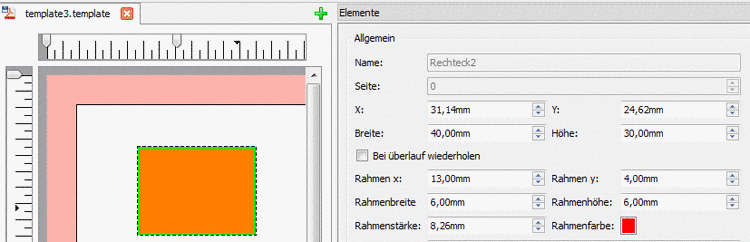
In the template, select the desired element.
-> You can recognize the selection at the light green margin.
-> The dialog area Elements is displayed (either as docking or as single window).


![[Note]](/community/externals/manuals/%24%7Bb2b:MANUALPATH/images/note.png)