powered by CADENAS

Manual

Manual

5.4.1.3.1. Mandatory parameters

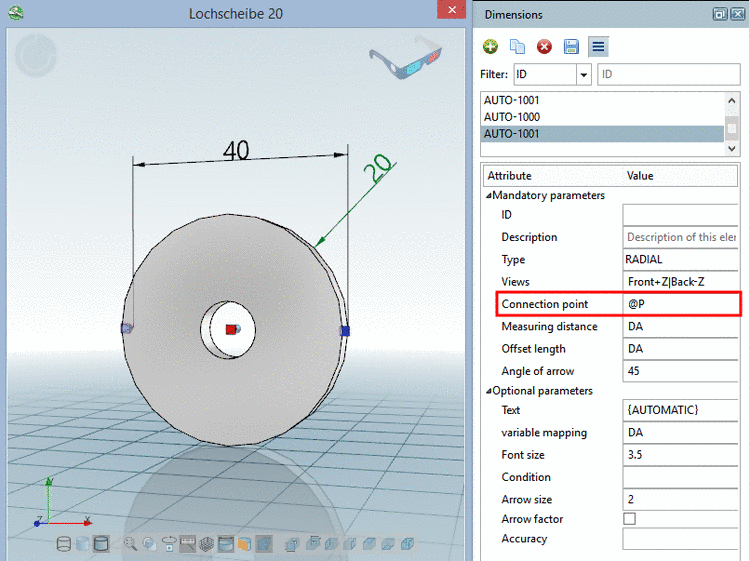
Each dimensioning must contain the following parameters:

  • ID

    The ID is automatically set.

    You can adjust the name optionally.

  • Type

    When creating a new dimensioning at first a selection dialog box for the type definition appears. The type is displayed here.

    If it makes sense you may change the type via list field.

    [Note] Note

    The parameter fields are not updated until you have clicked Save changes .

  • Views

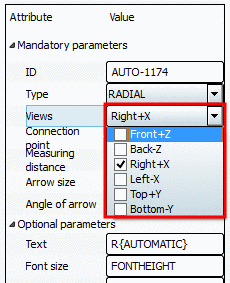
    At the desired 2D views, where the dimensioning shall be displayed, activate the checkbox.

    In the list field, check the desired views.

    In the list field, check the desired views.

  • Connection point

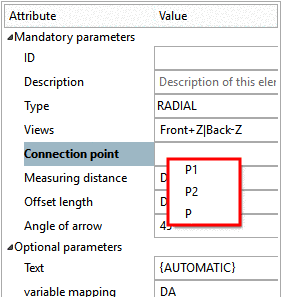
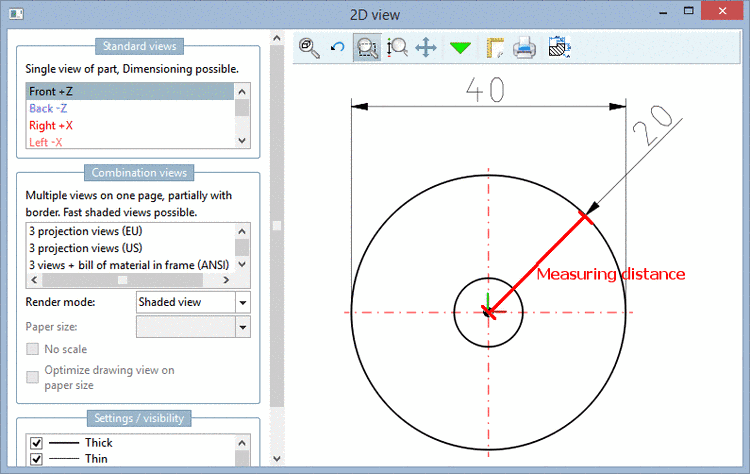
    Select a Connection point as center of the circle of the radial dimensioning.

    (The measuring distance [see next point] determines, where the arrow is visibly inserted.

    1. In the 3D view, click on the desired connection point.

      -> This is marked in red now.

    2. Click into the input field of the point.

    3. Enter the name of the point via Ctrl+V from the clipboard into the input field.

      Insert "Connection point" via Ctrl+V

      Insert "Connection point" via Ctrl+V

      Alternatively, you can select the point in the context menu.

      Selection of the "Connection point" in the context menu

      Selection of the "Connection point" in the context menu

  • Measuring distance

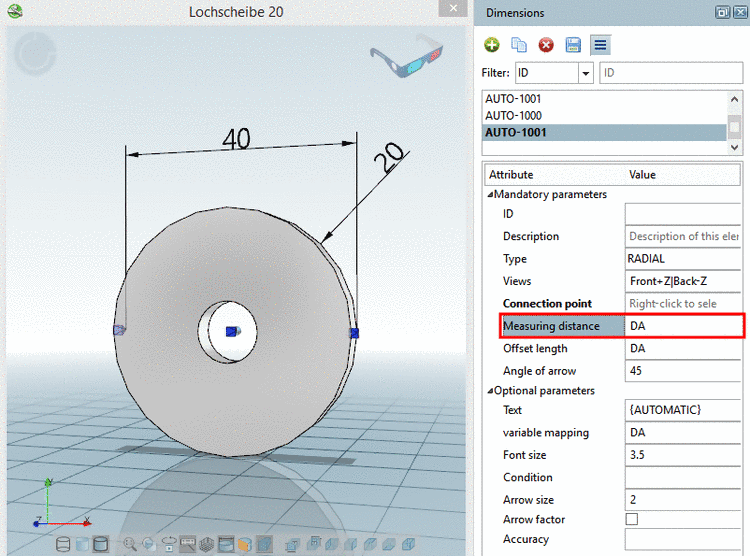
    Measuring distance is the aiming point of the arrowhead (normally the circle radius, because otherwise the arrowhead would have no real focus).

    Specify a fixed value or better a variable.

    Example "Measuring distance" in 3D

    Example "Measuring distance" in 3D

    Example "Measuring distance" in 2D

    Example "Measuring distance" in 2D

  • Offset length

    Specify a fixed value or better a variable

  • Angle of arrow

    e.g. 45 (only insertion of the numerical value)