Manual
Login
Our 3D CAD supplier models have been moved to 3Dfindit.com, the new visual search engine for 3D CAD, CAE & BIM models.
You can log in there with your existing account of this site.
The content remains free of charge.

Top Links
Manual
 |
|
|
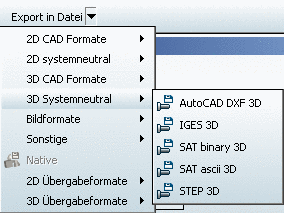
[a] The selection of export formats depends on the respective license. | |
![[Note]](/community/externals/manuals/%24%7Bb2b:MANUALPATH/images/note.png) |
Note |
|---|---|
The symbol
(icon) | |

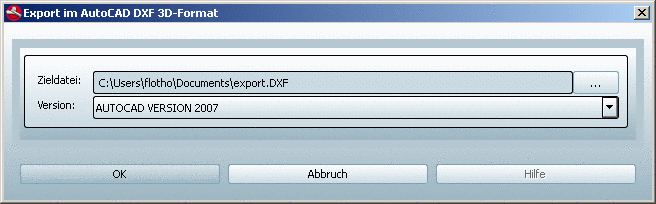
-
A window in which you can assign the storage location (Filename field) and version status (Version field) of the file shows up. The Documents folder in the User directory is preset. Using the Browse button, you can open the Explorer window Save as.... Enter a file name an click on the button Save. The close the window with .