Manual
Login
Our 3D CAD supplier models have been moved to 3Dfindit.com, the new visual search engine for 3D CAD, CAE & BIM models.
You can log in there with your existing account of this site.
The content remains free of charge.

Top Links
Manual
 |
-
In PARTproject, under Project selection -> assembly -> platte_schraube, select the file fluegelschraube.3db and click on .
-> The butterfly screw is opened in PARTdesigner.
The connection point is to be placed into the middle of the bearing surface.
-
-
Pull the cursor to the center of the circle of the boring. In this case it is located at coordinate point of origin.
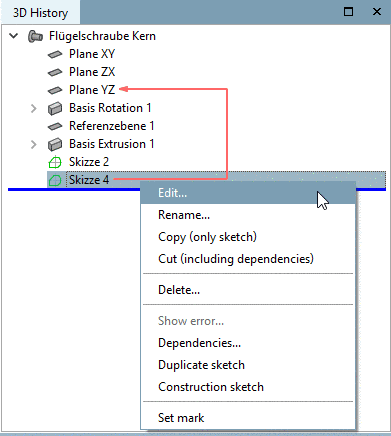
-> In the history area, the Insert connection point procedure is documented.
-
Enter a Name for the connection point and confirm with .
-
Close the Sketcher by clicking on the button Accept changes.
-> The connection point cp2 of the butterfly screw has been inserted.
In the 3D view the spot is again marked by a three-dimensional green triangle .
-
Make changes to the part (dialog box Identification data) and close your file.
-> All connection points required for the connection are created now.